Episode 3: Bread
Recipe (Showstopper Challenge): Yeasted Chocolate Coffee Cake
Full disclosure – I have made this recipe before! (came out really well) Although the majority of recipes I have made were with new recipes, I was actually pretty excited to use a recipe from my own repertoire. It seems that the competitors do get to practice or are able to use their own recipes, so I was glad to have this chance as well. The recipe is for a Martha Stewart yeasted chocolate coffee cake. Most coffee cakes have a moist and flavorful cake base (“plain”) and with a streusel topping. The topping is what really makes the coffee cake, it’s a great texture complement to the cake.
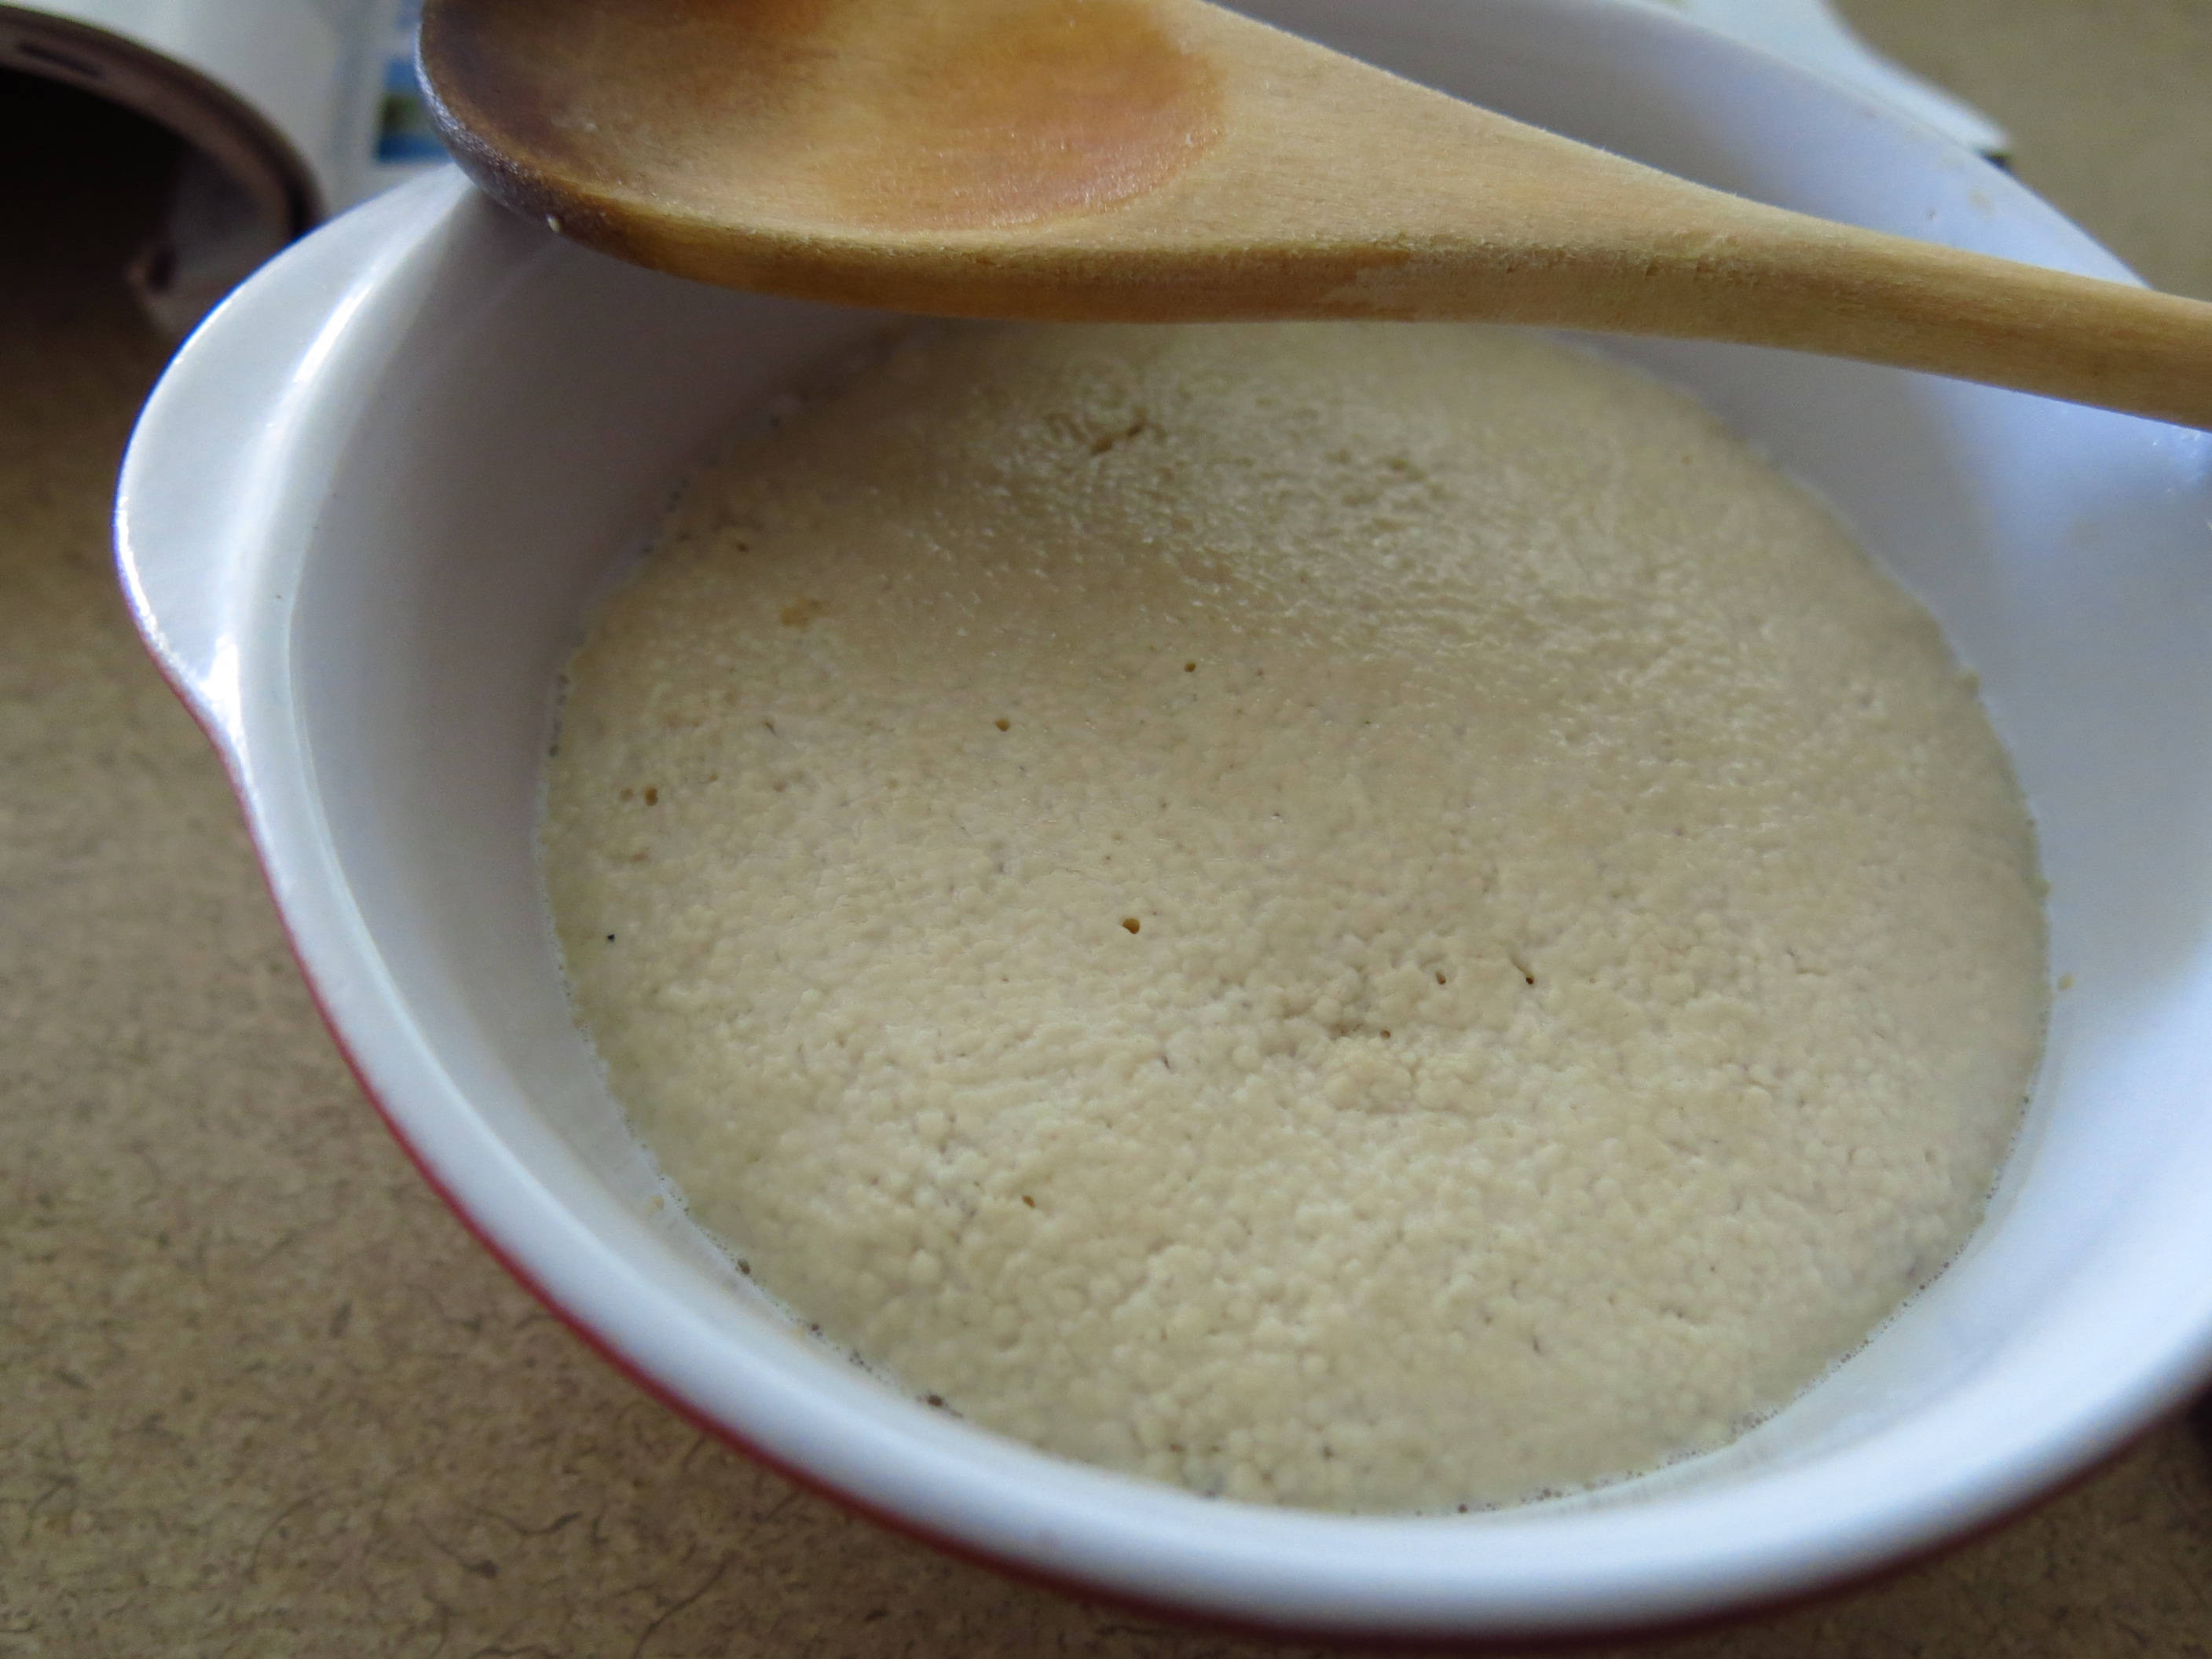
This “cake” is almost like a babka, a sweetened and raised “bread” that has a swirl or twist. The dough starts like a yeasted bread dough but does have relatively more sugar (and butter!). After the proofing mishaps from before, I made sure the water to dissolve the yeast was hot enough!
As a result, I had some very happy and active (blooming!) yeast:
The dough is pretty basic until you get to the butter part…You switch to a hook attachment (not the best for incorporating butter) and you start adding in the butter bit by bit. It takes a bit of time (as warned) and I had to give some stray butter globs a little nudge to join their buttery compatriots in the dough…but it gets there! And after a further knead (thank goodness for Kitchen Aid mixers) – you get a beautiful dough:

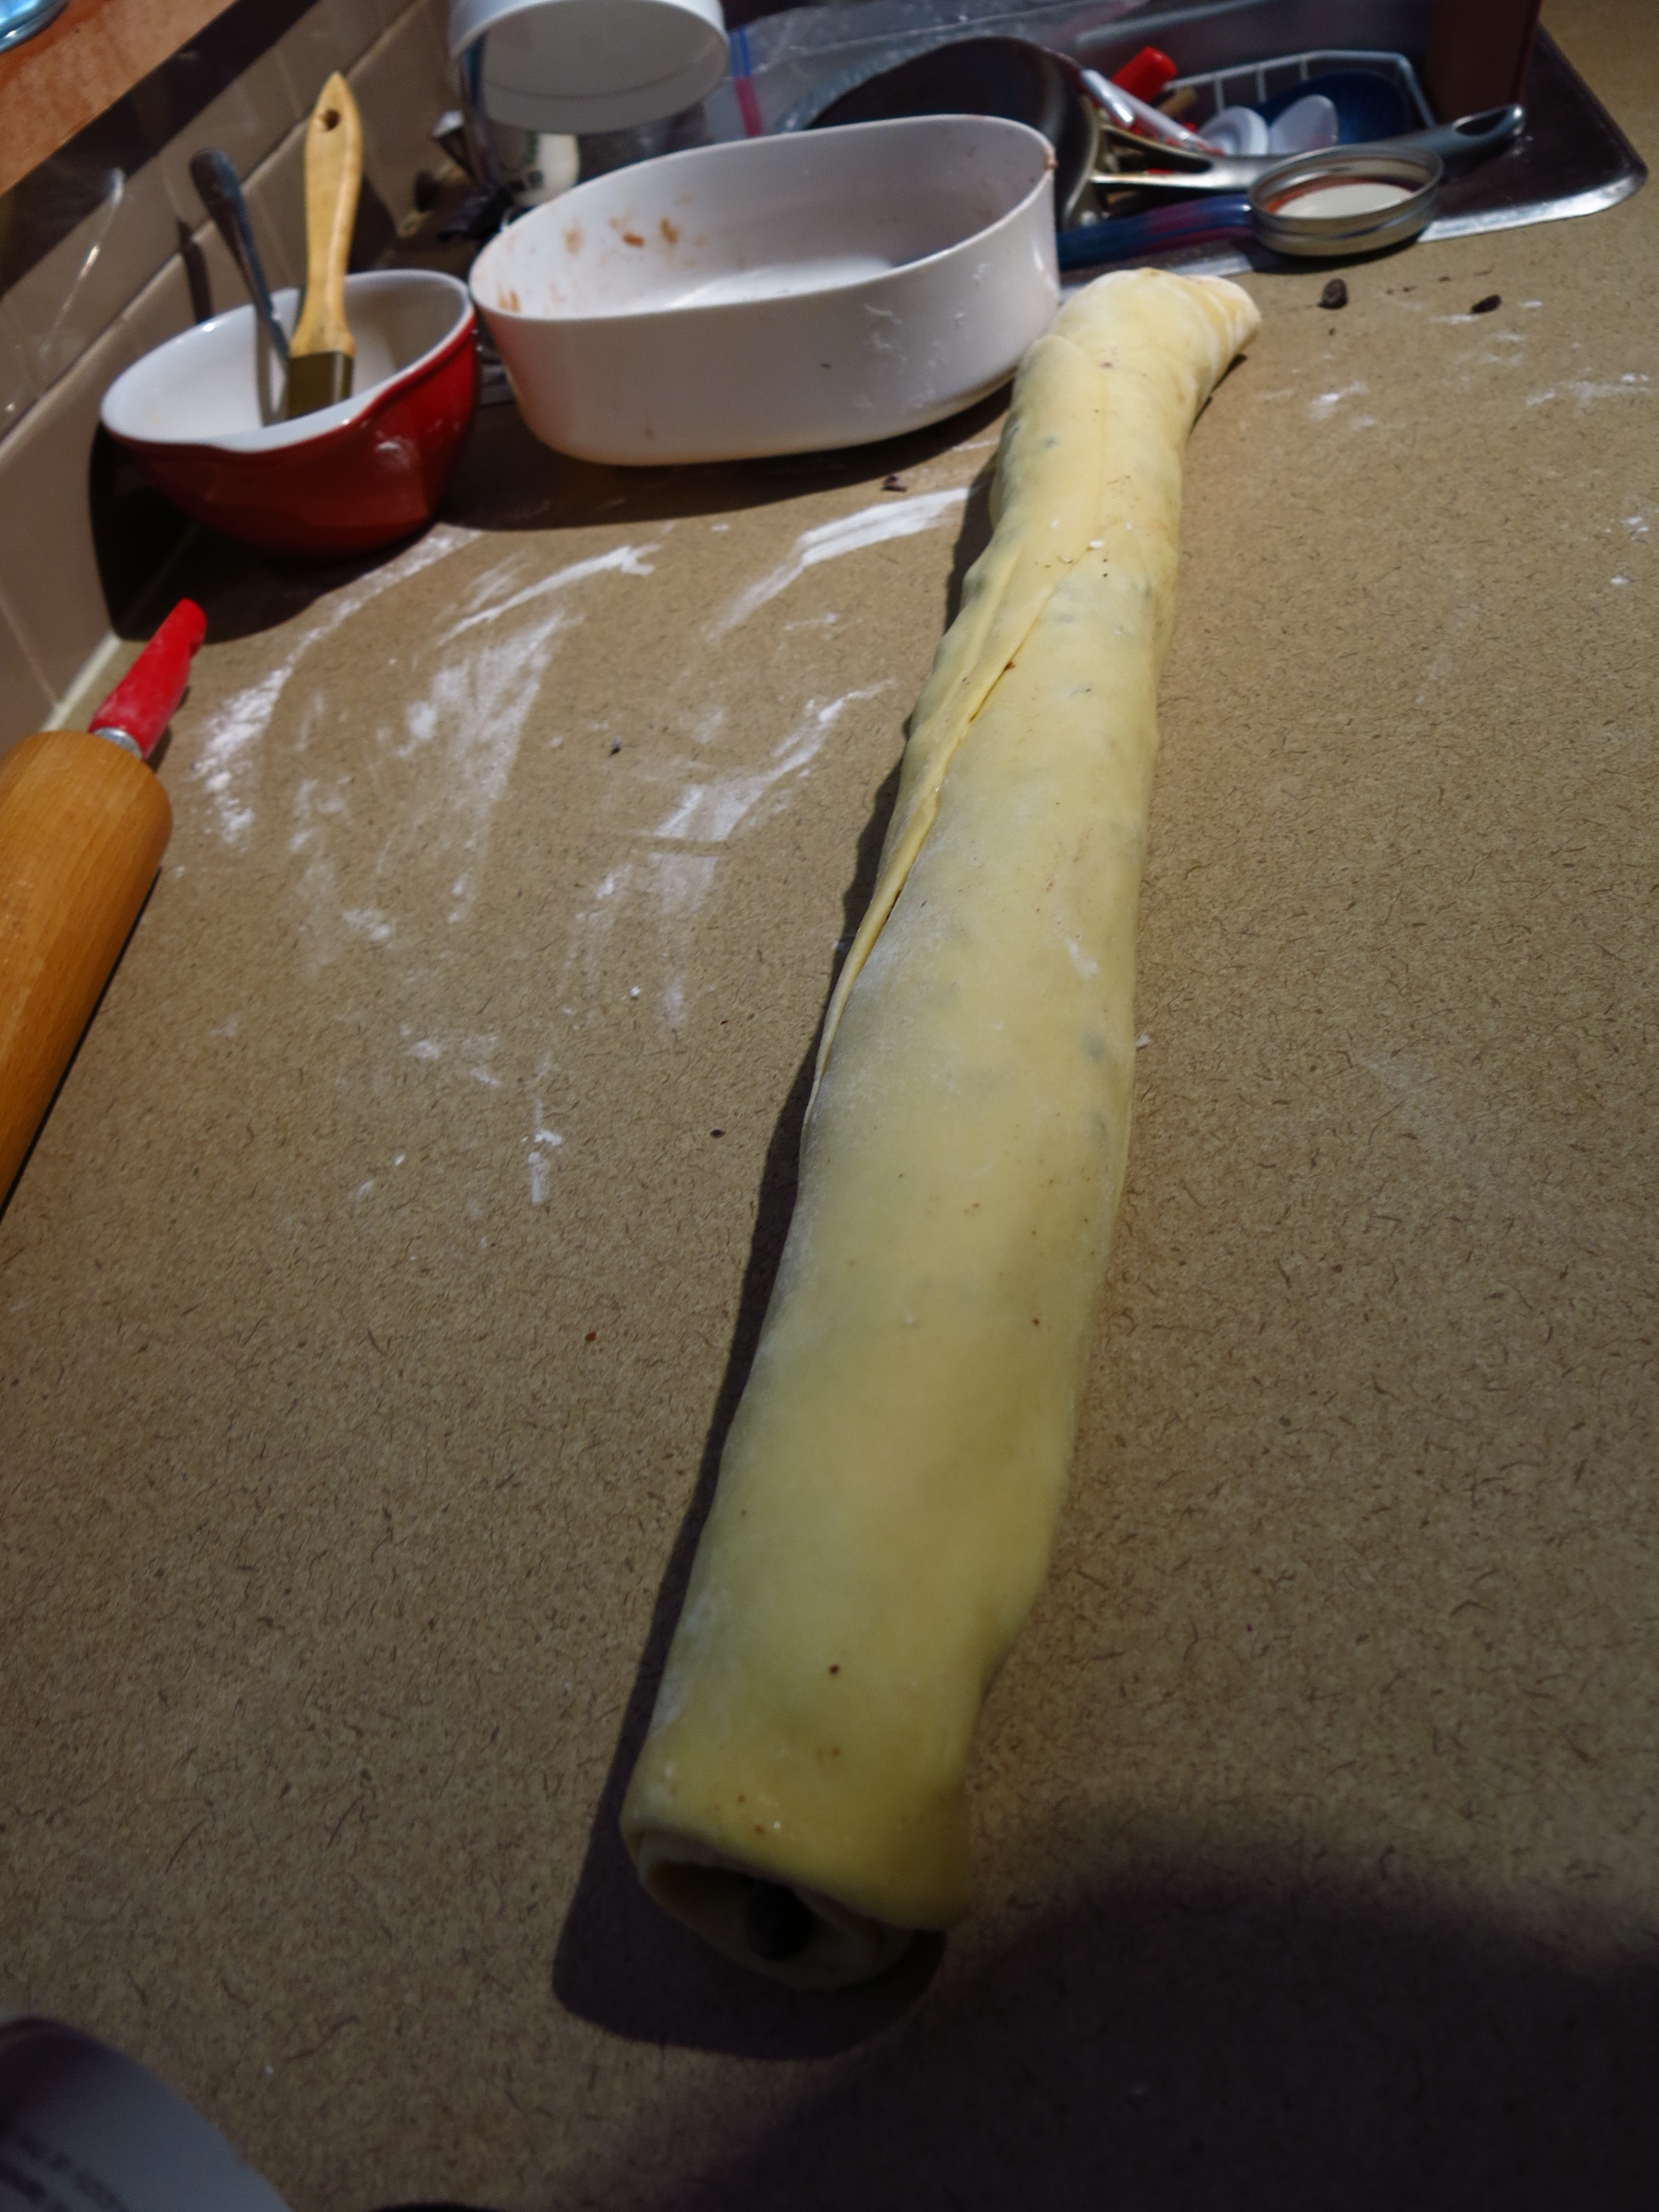
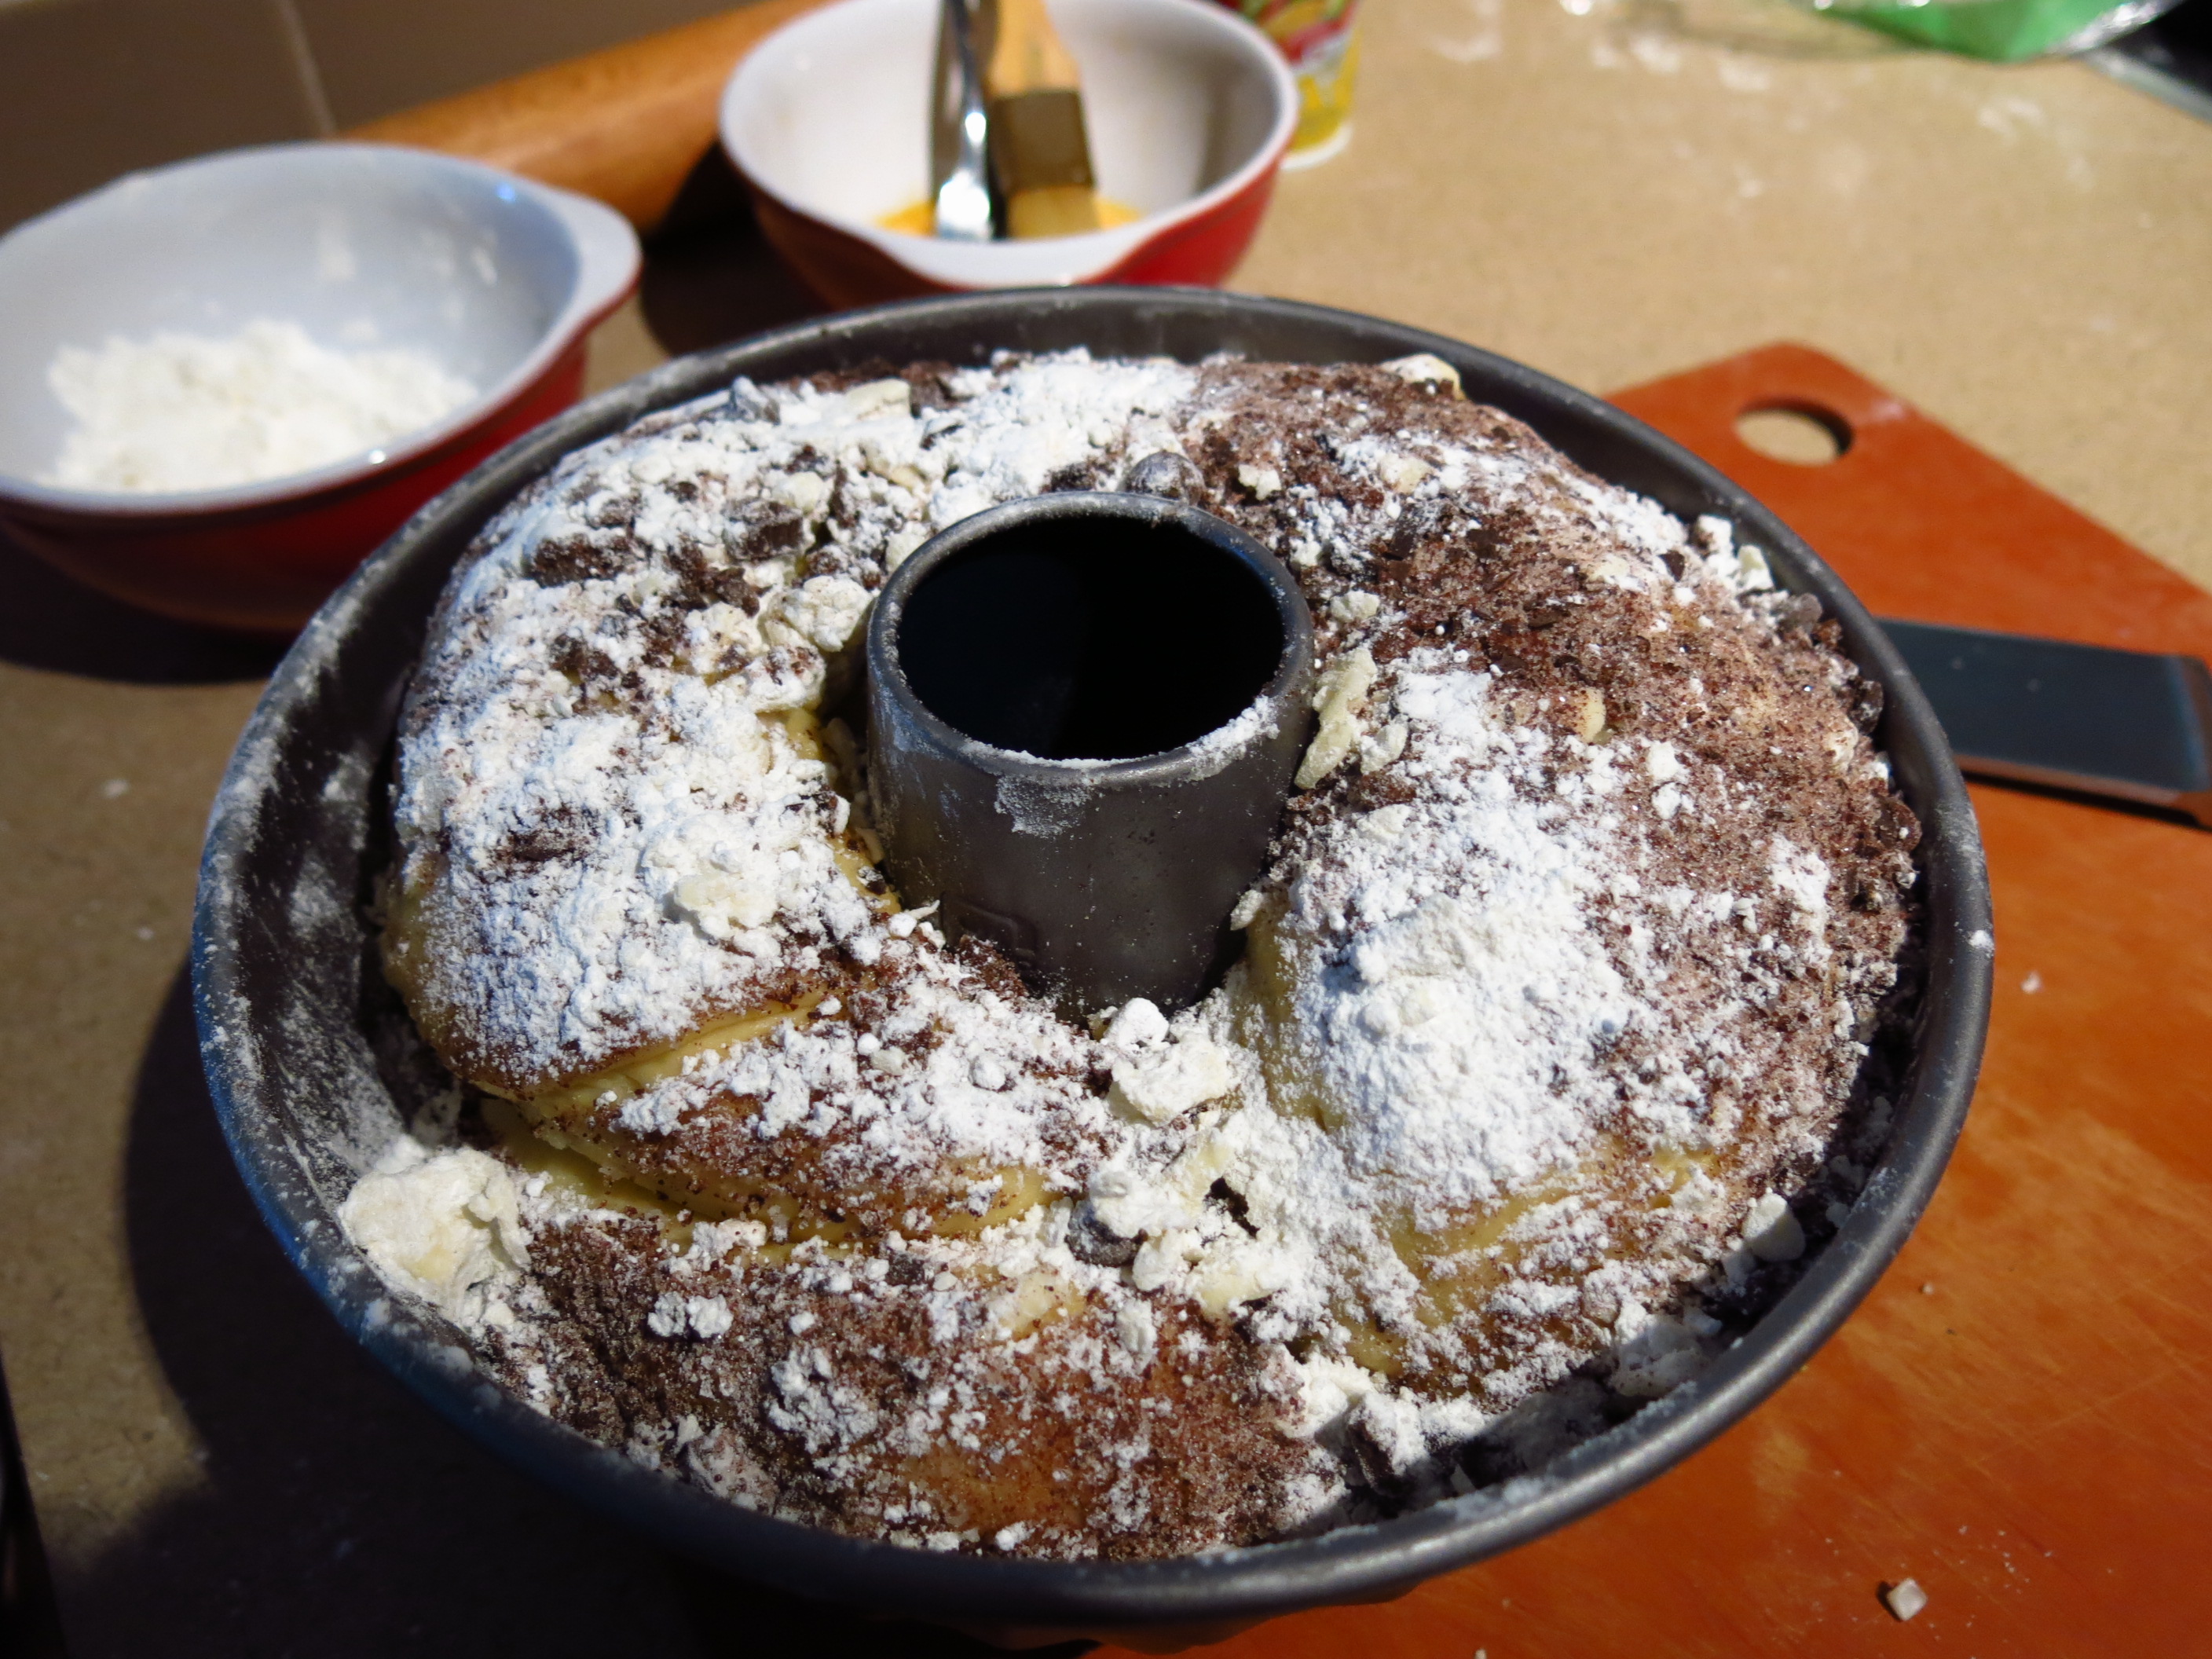
While the dough is proofing, I made the filling & streusel. I also thought about what the final shape of this bread should be. The competitors had these beautiful circular loaves, so I felt I should also make a round “bread”. Because of the swirl, I decided to bake this bread in a bundt/flute pan. As a result, when I rolled it out, I had to roll it out…quite large. So once you roll it out, scatter the filling and roll it up again, you have to twist the dough. This “shortens” the bread considerably. When I first made it, I used a long-ish loaf pan which was perfect. To really stretch out this dough, after I rolled it up, I gently coaxed it (alternating between rolling and very VERY gently pulling) to be long enough to fit inside the pan (and touch ends – that was the test). Because you ‘fold’ the log and then twist, there is one part of the roll that is a lot fatter than the rest. This evened out a bit in the second rise.
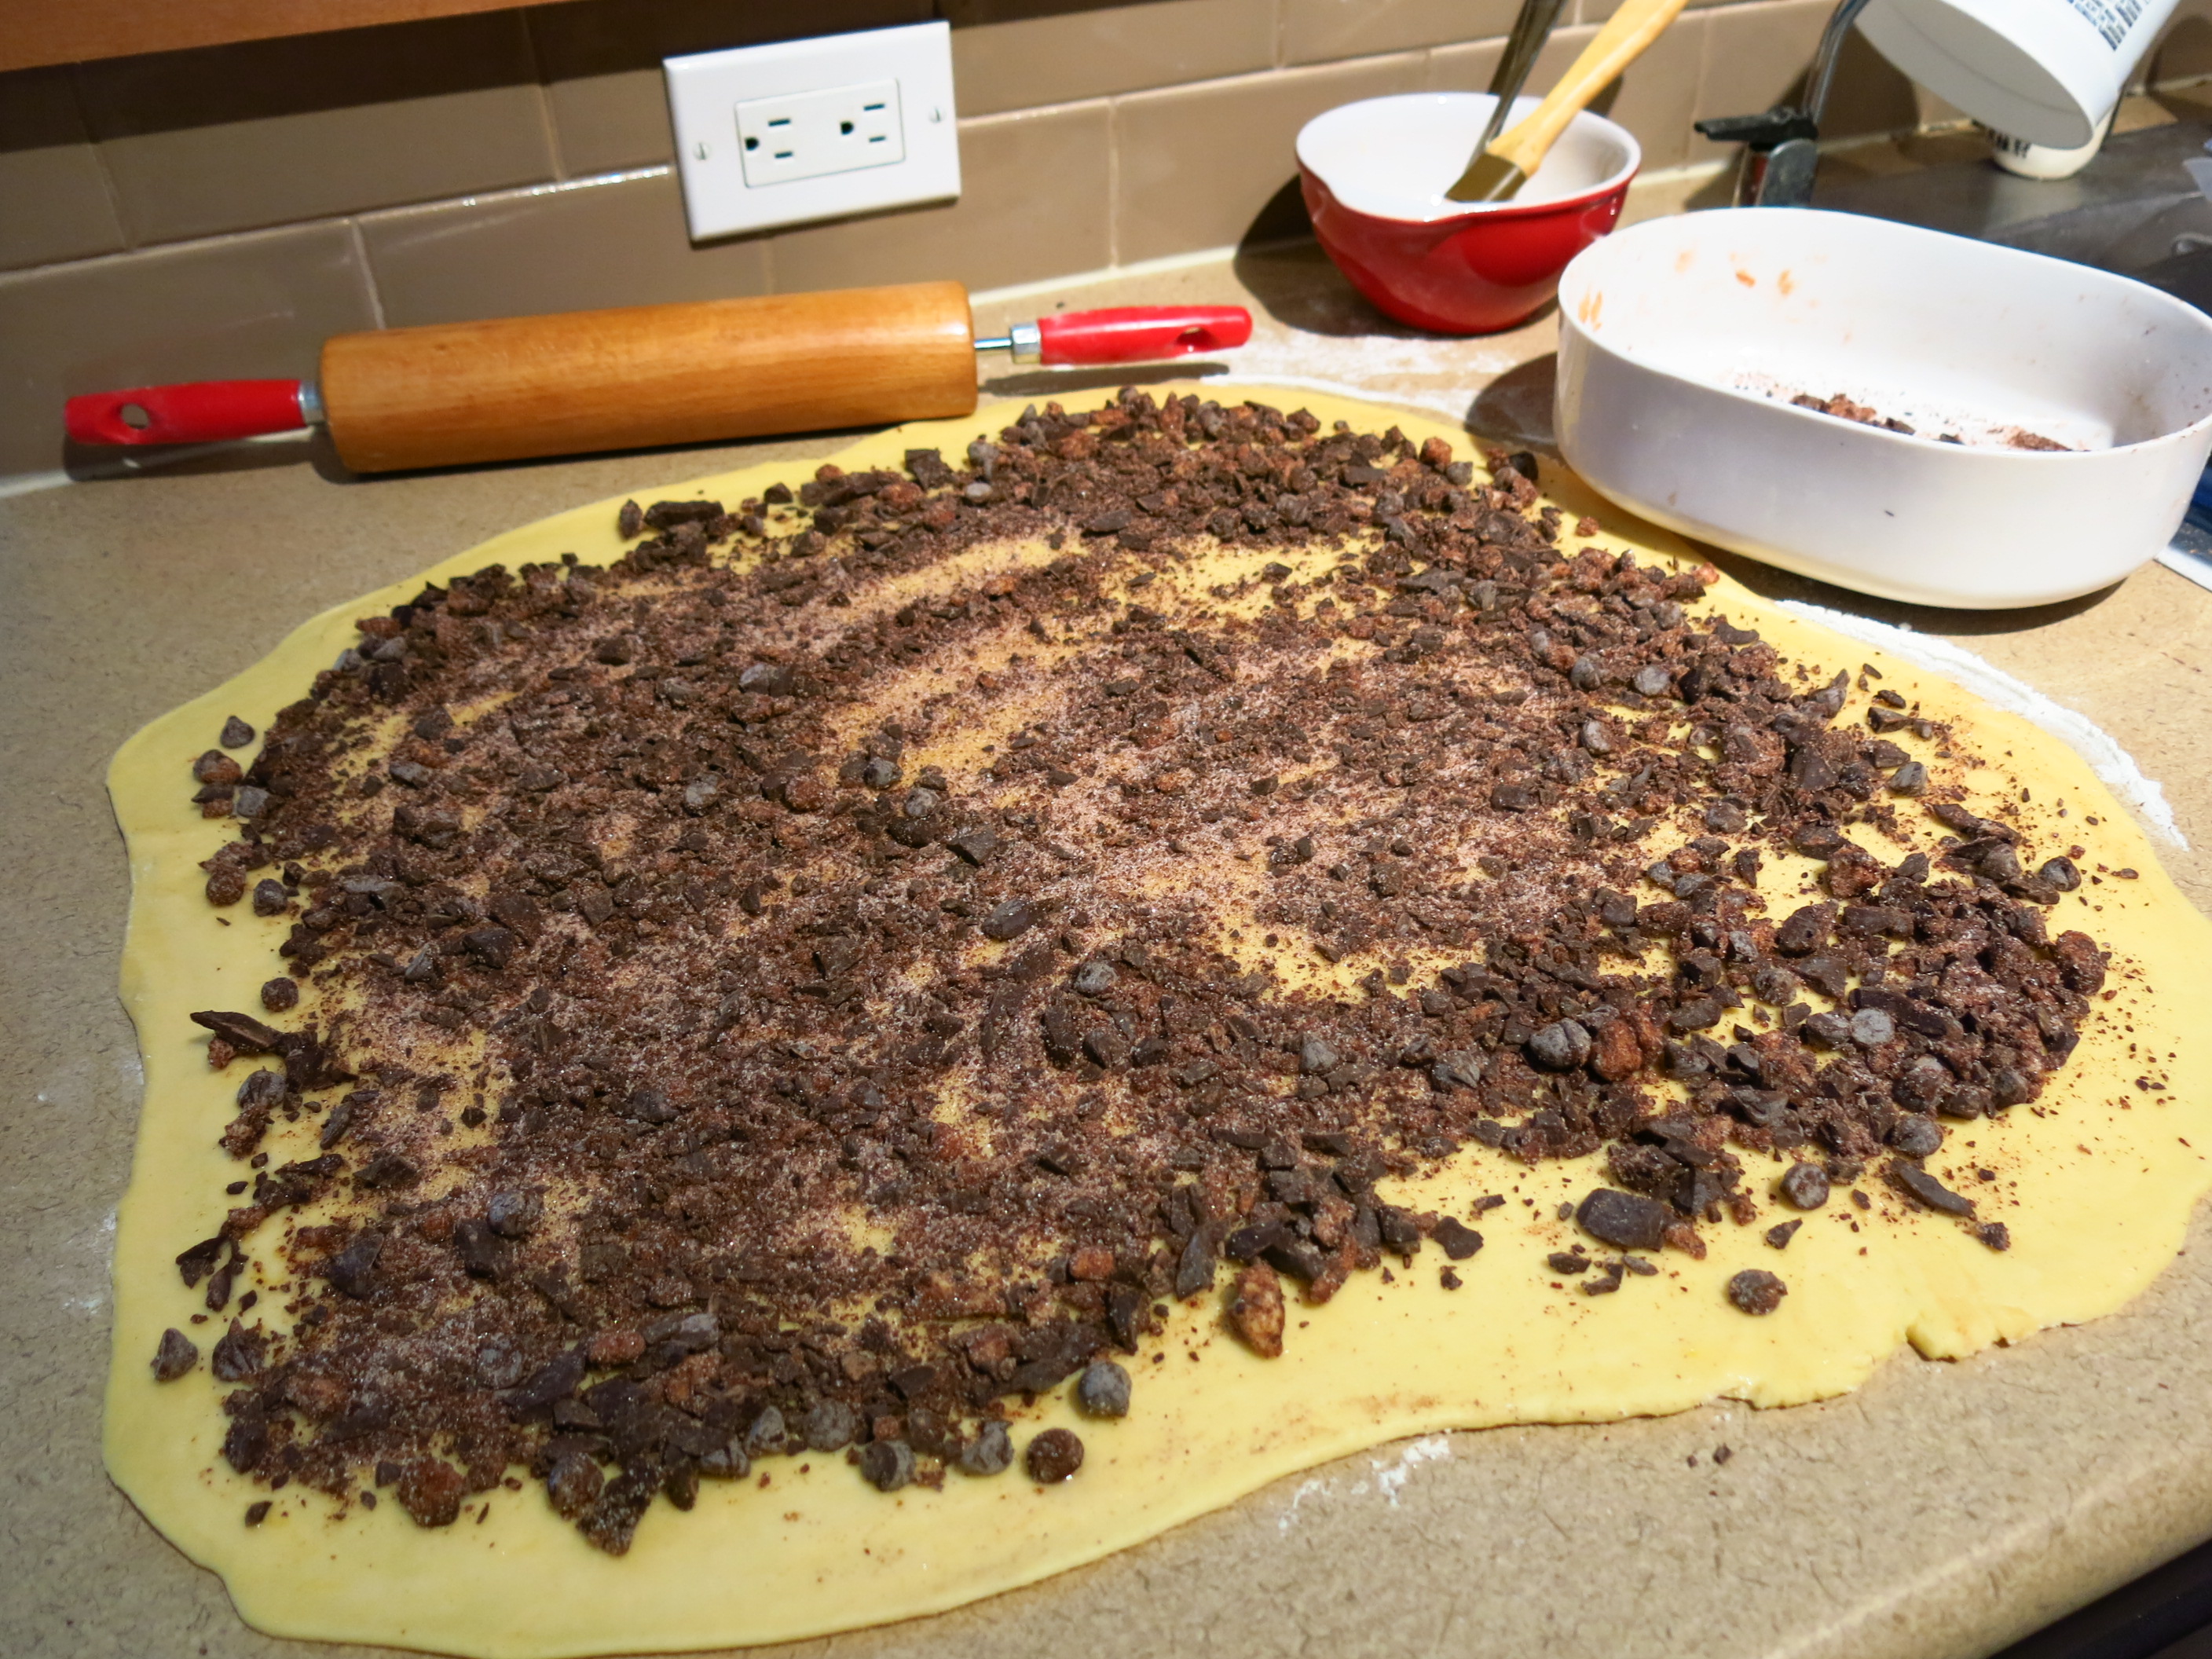 Rolled out and filling scattered.
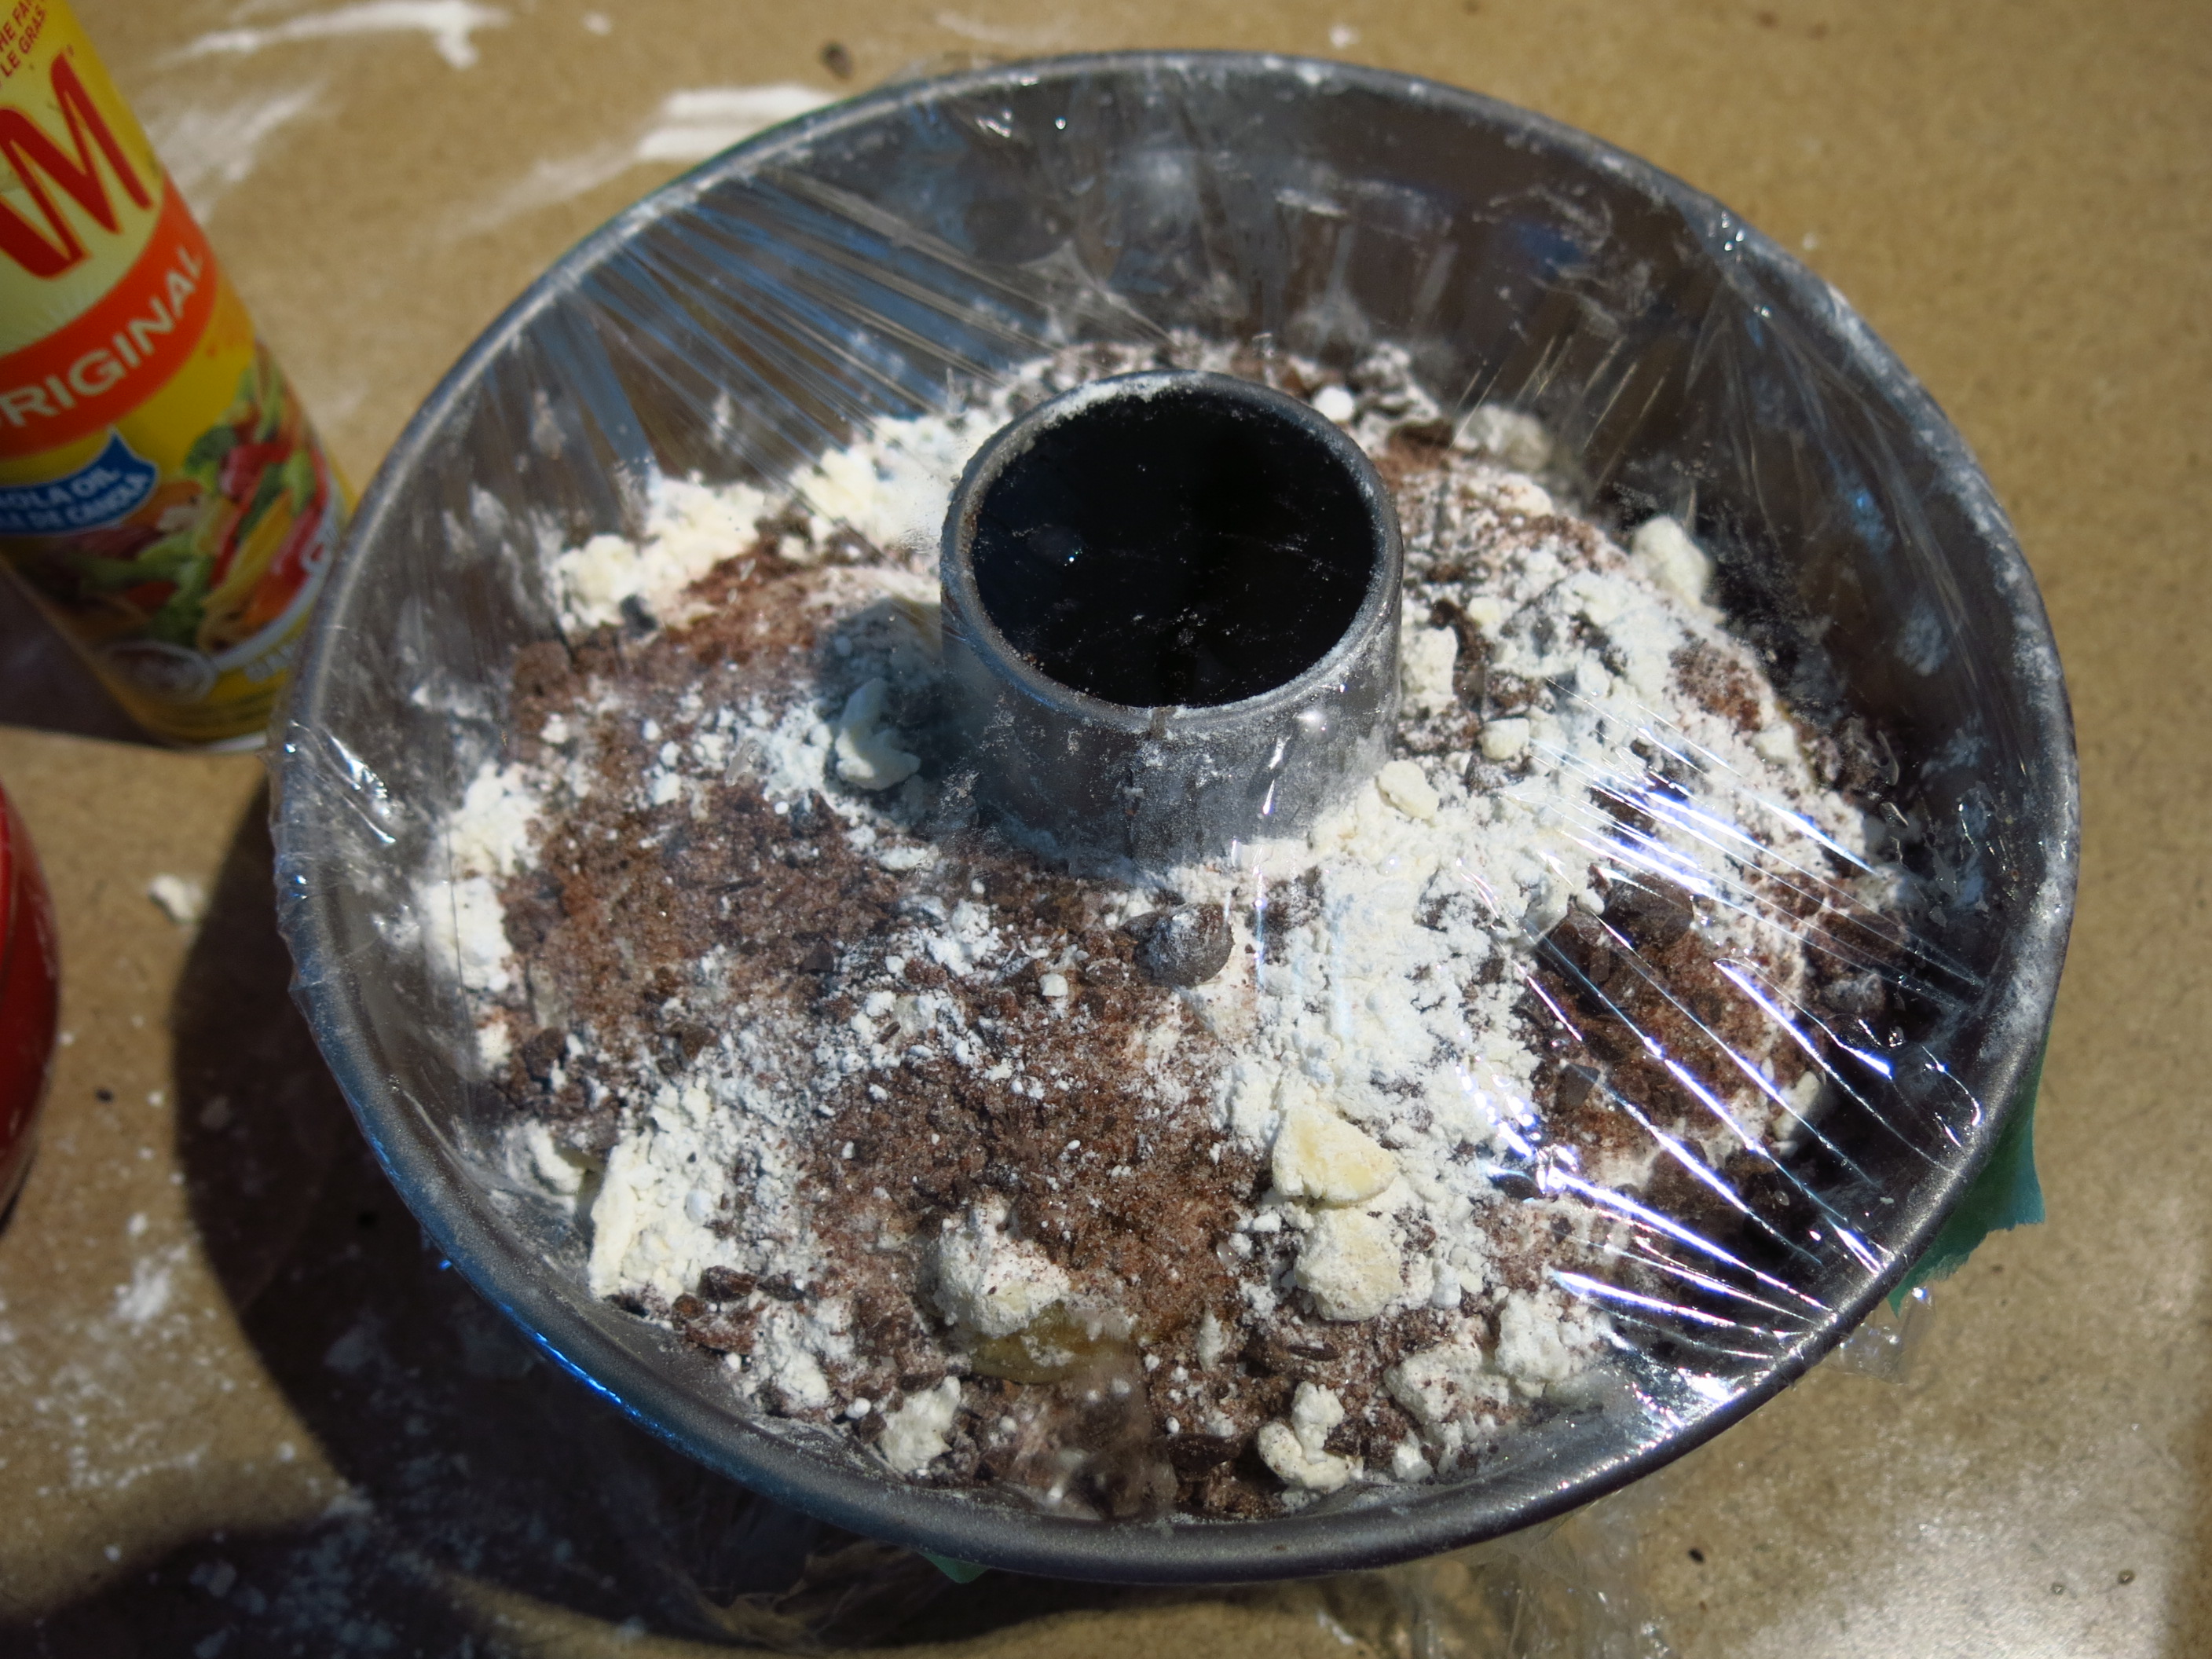
I would like to remind bakers that when you stand over your oven to punch in the heat to preheat your oven – make sure you actually START the preheating! So as you may have guessed, the second proof was actually doubled because I totally forgot to actually start my oven. This didn’t affect the bread at all, in fact it helped it! It gave the dough a bit more time to even out in height.
 Before!
 After!
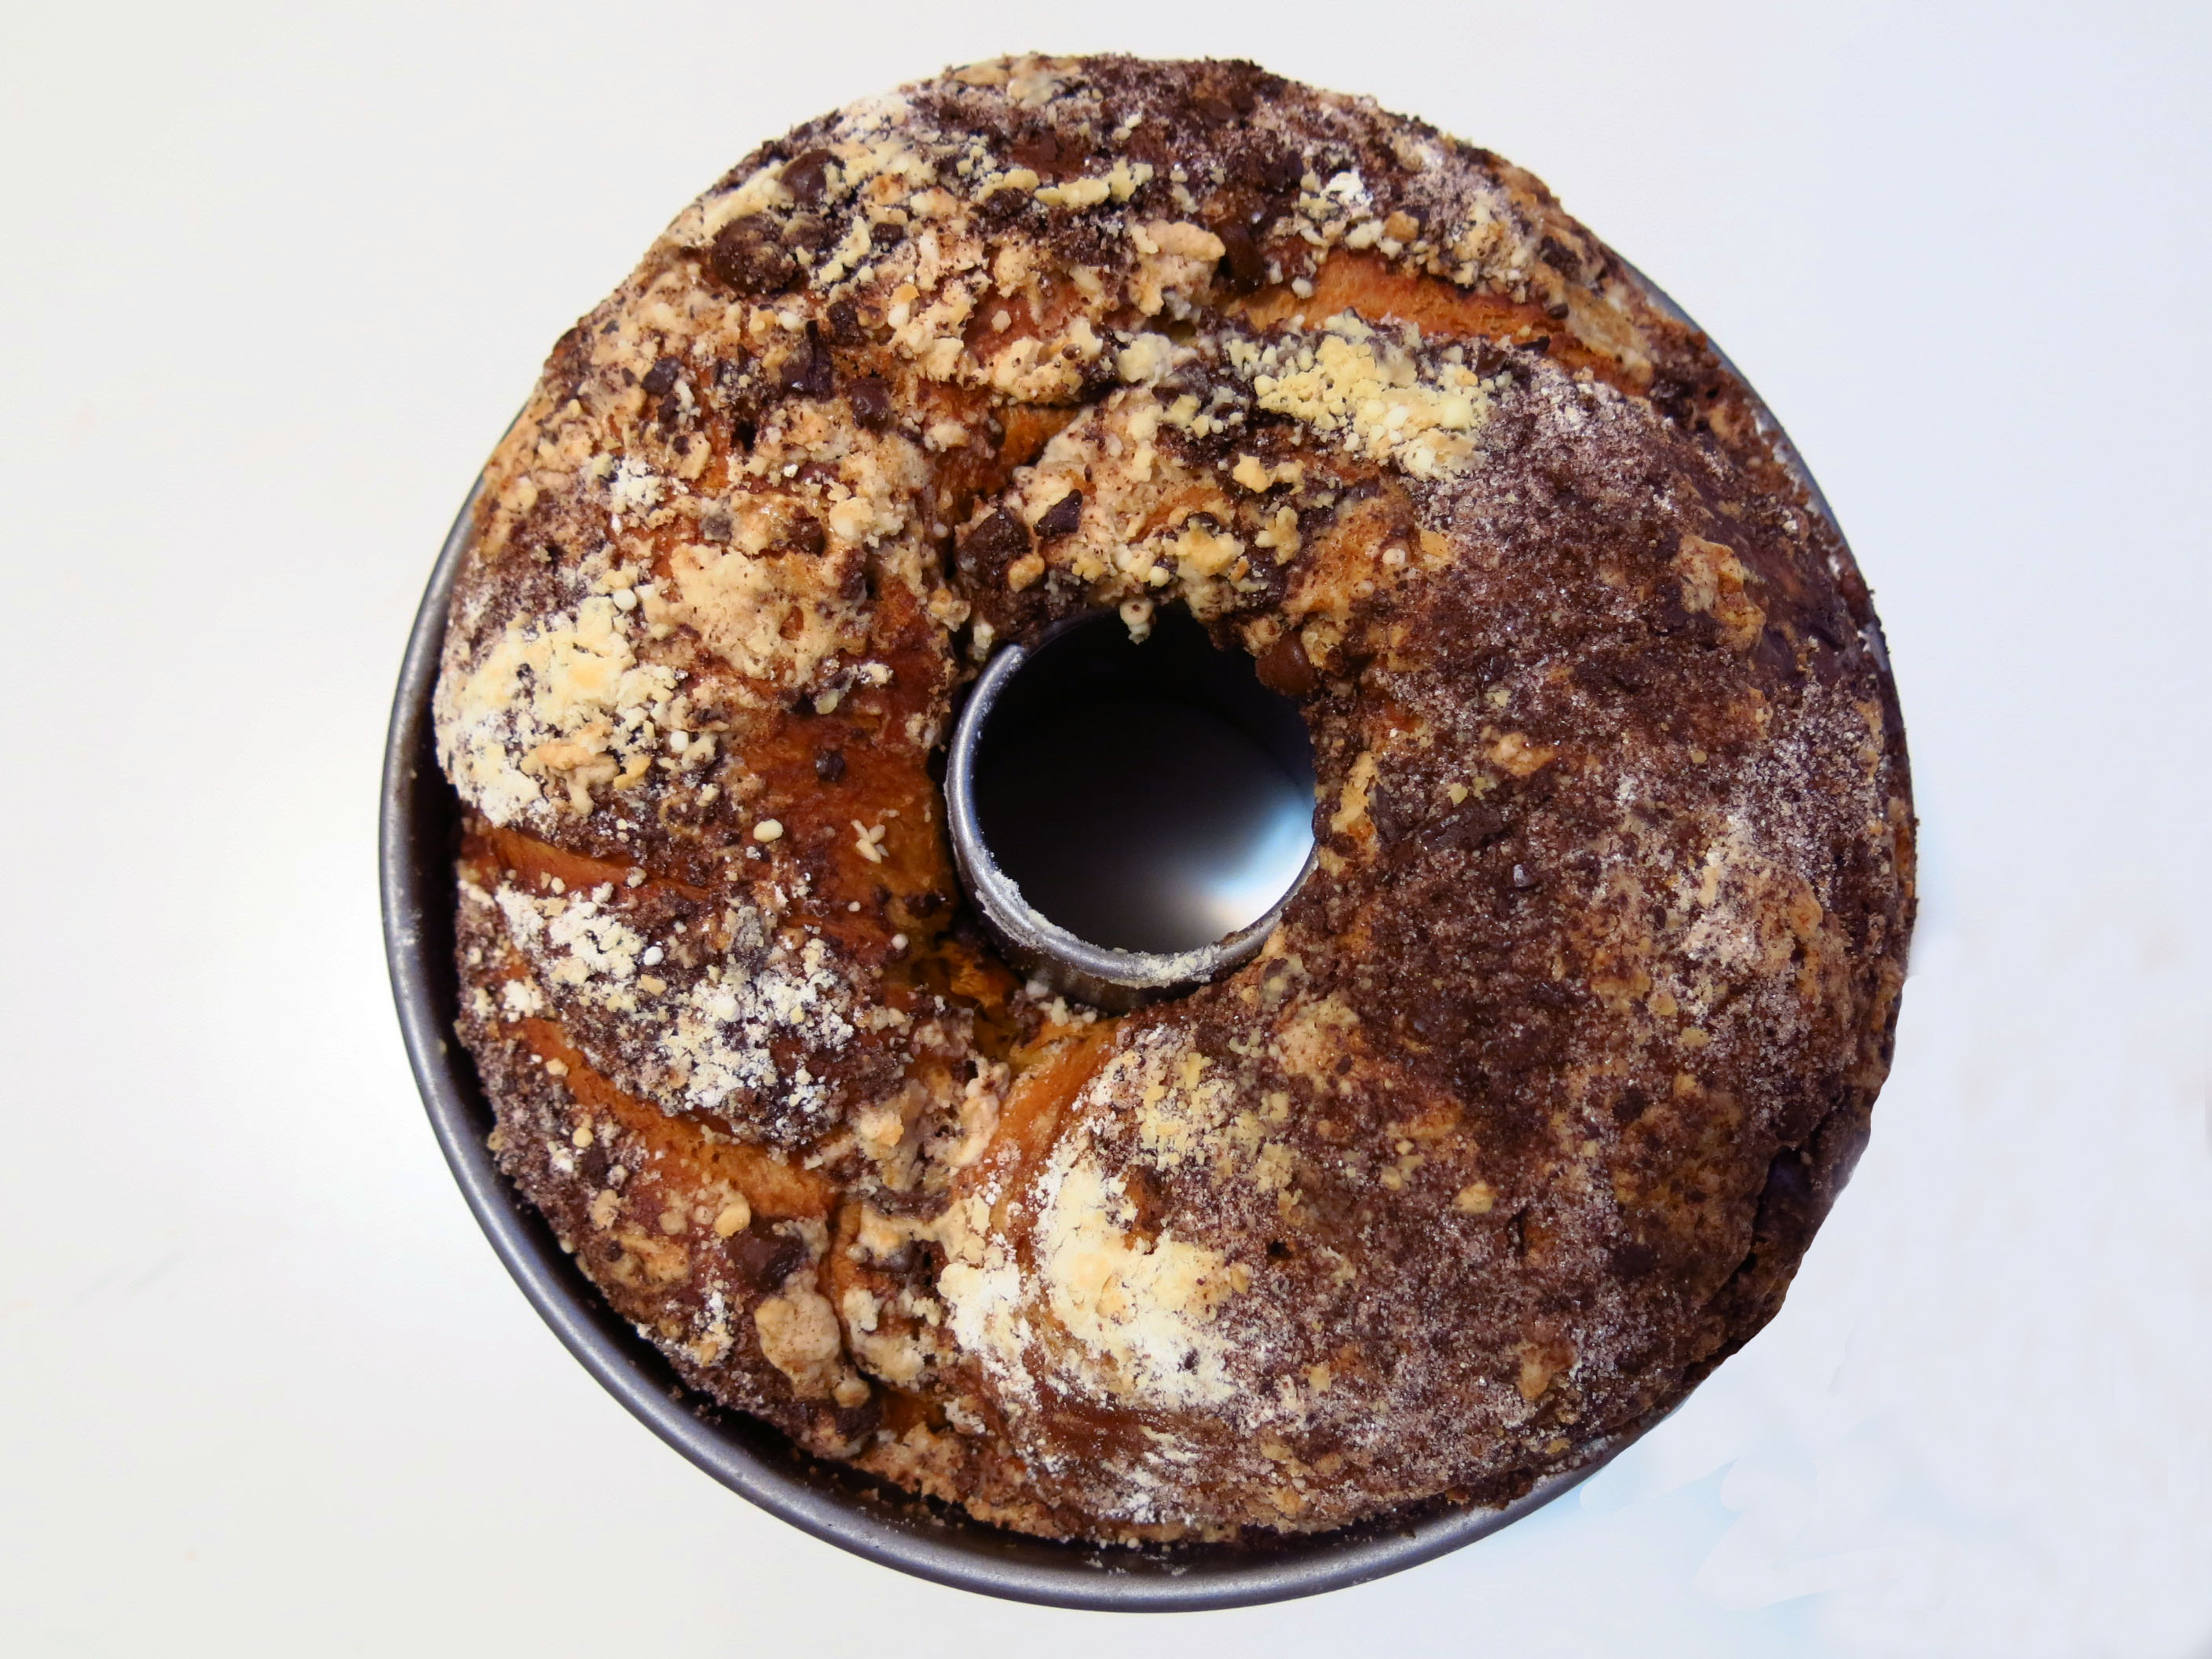
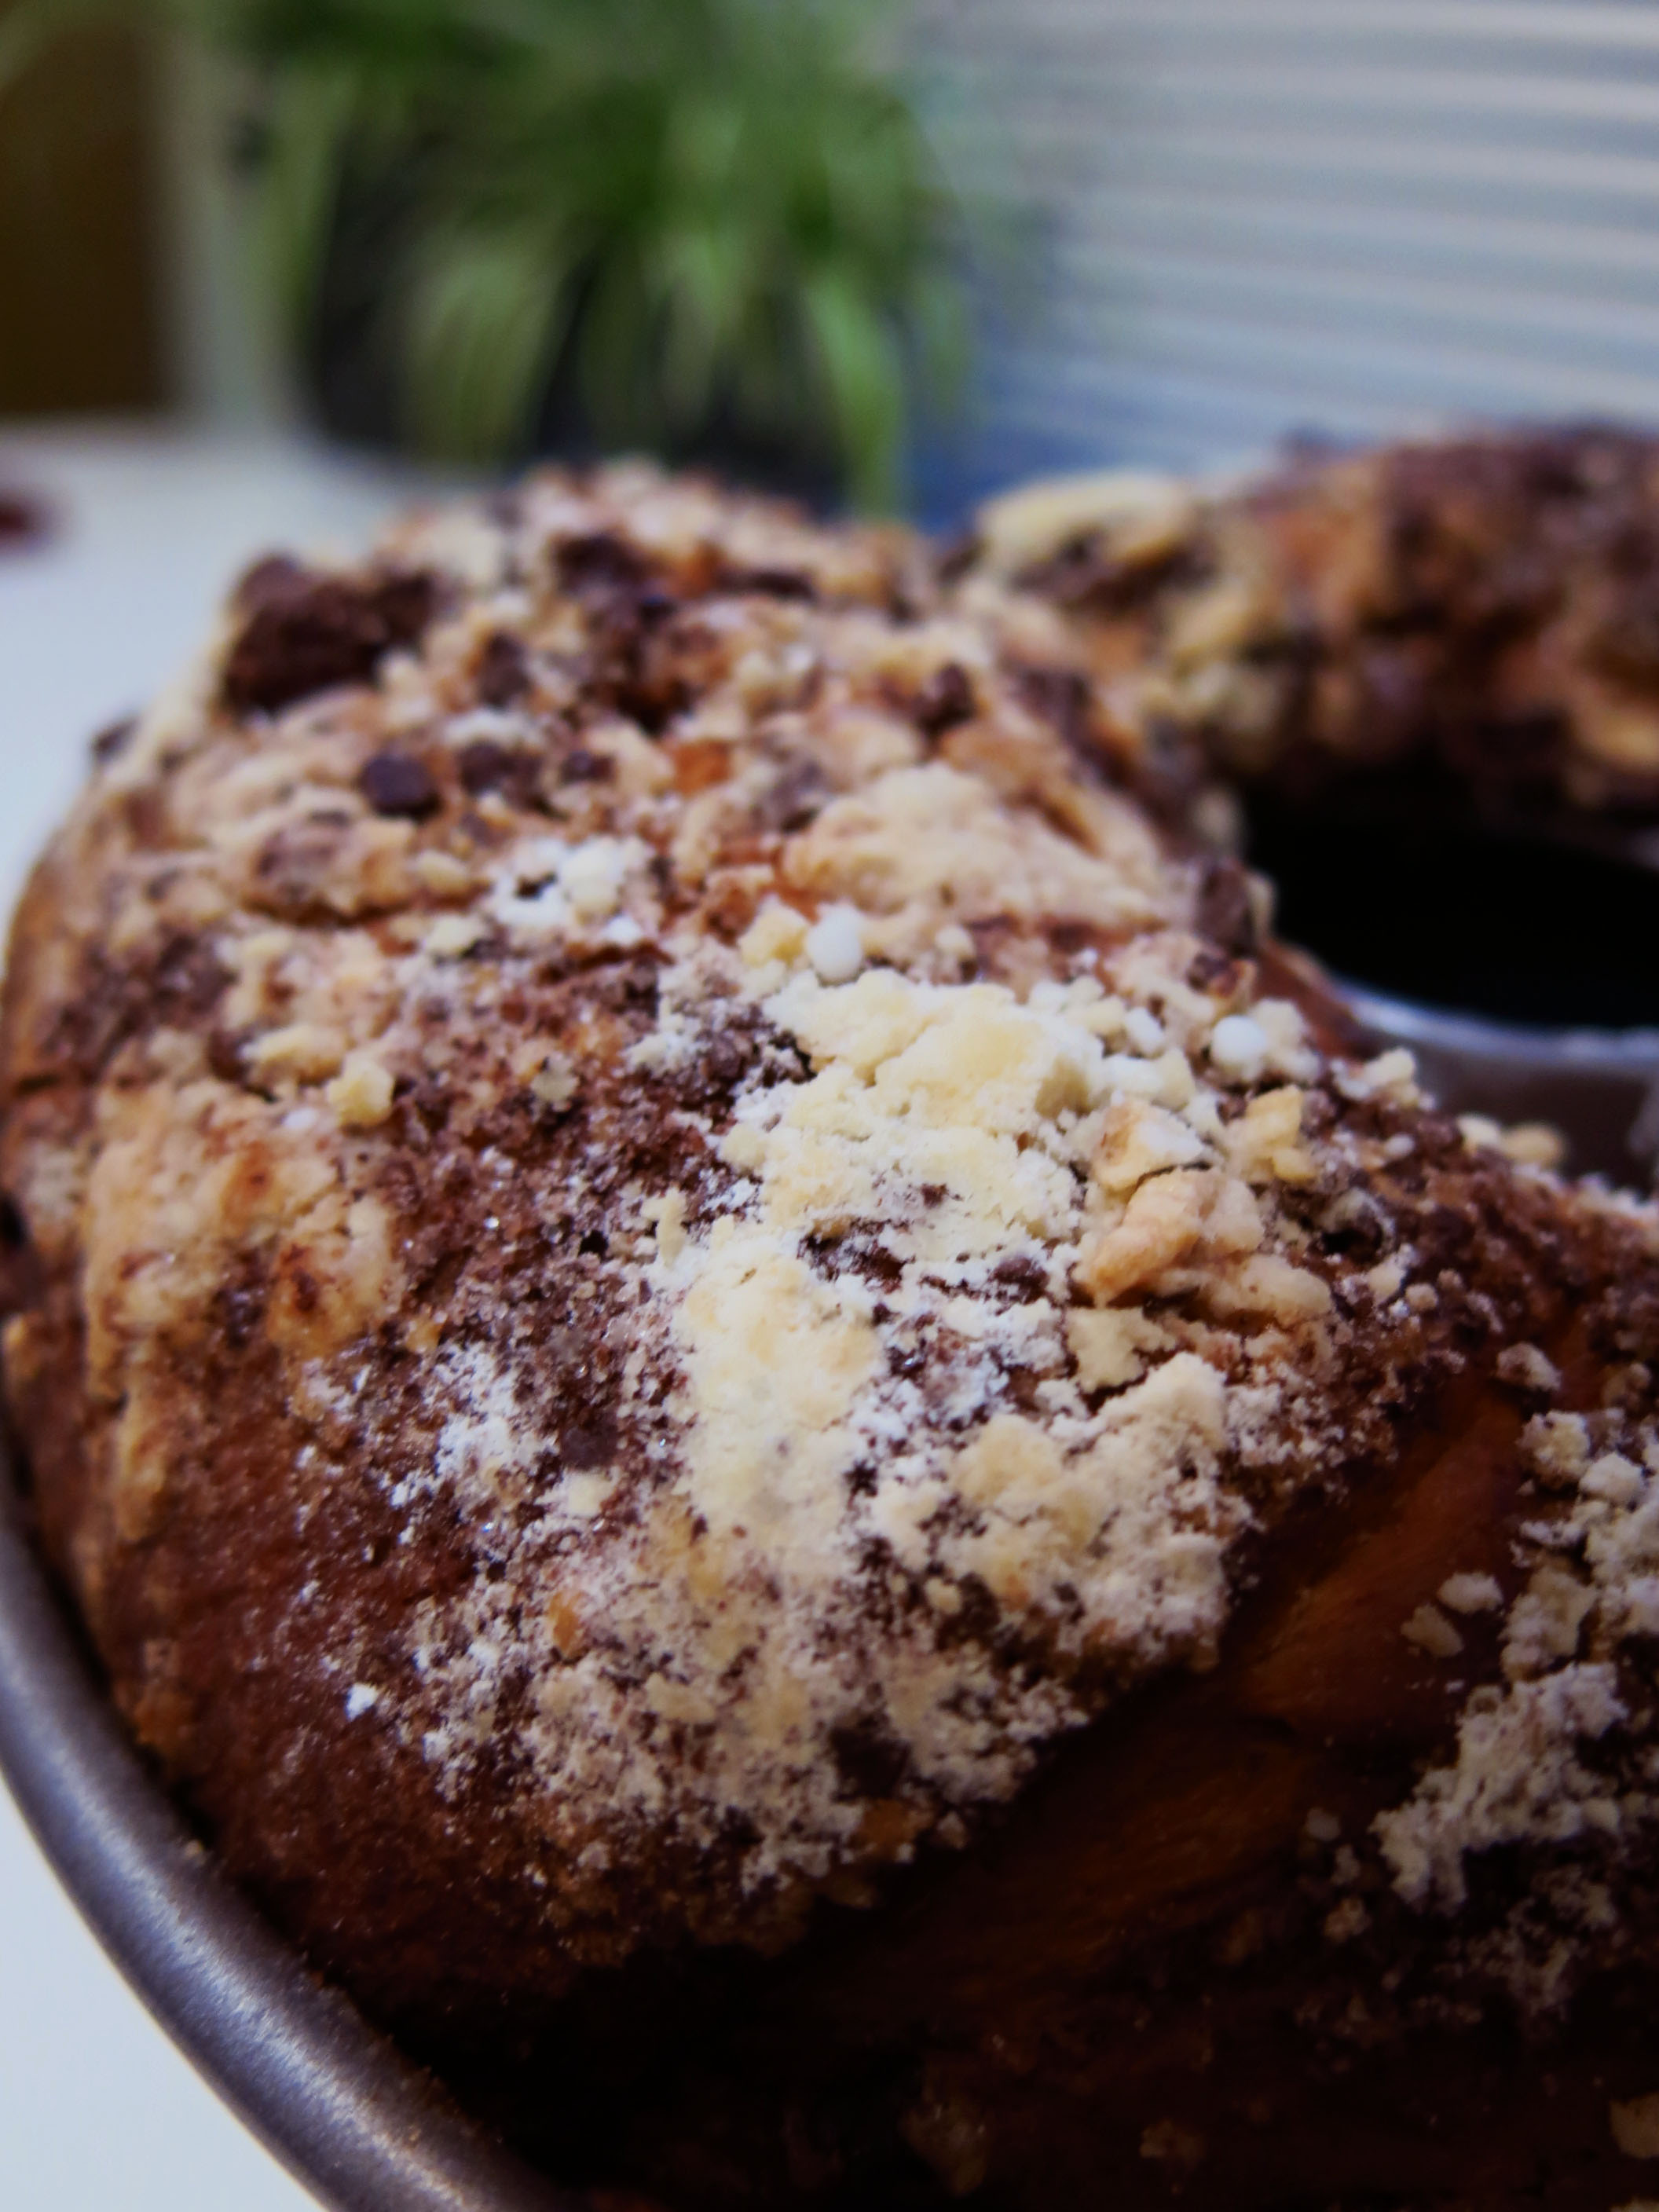
Yes, the topping is scattered on top for the second proofing. After a long bake…
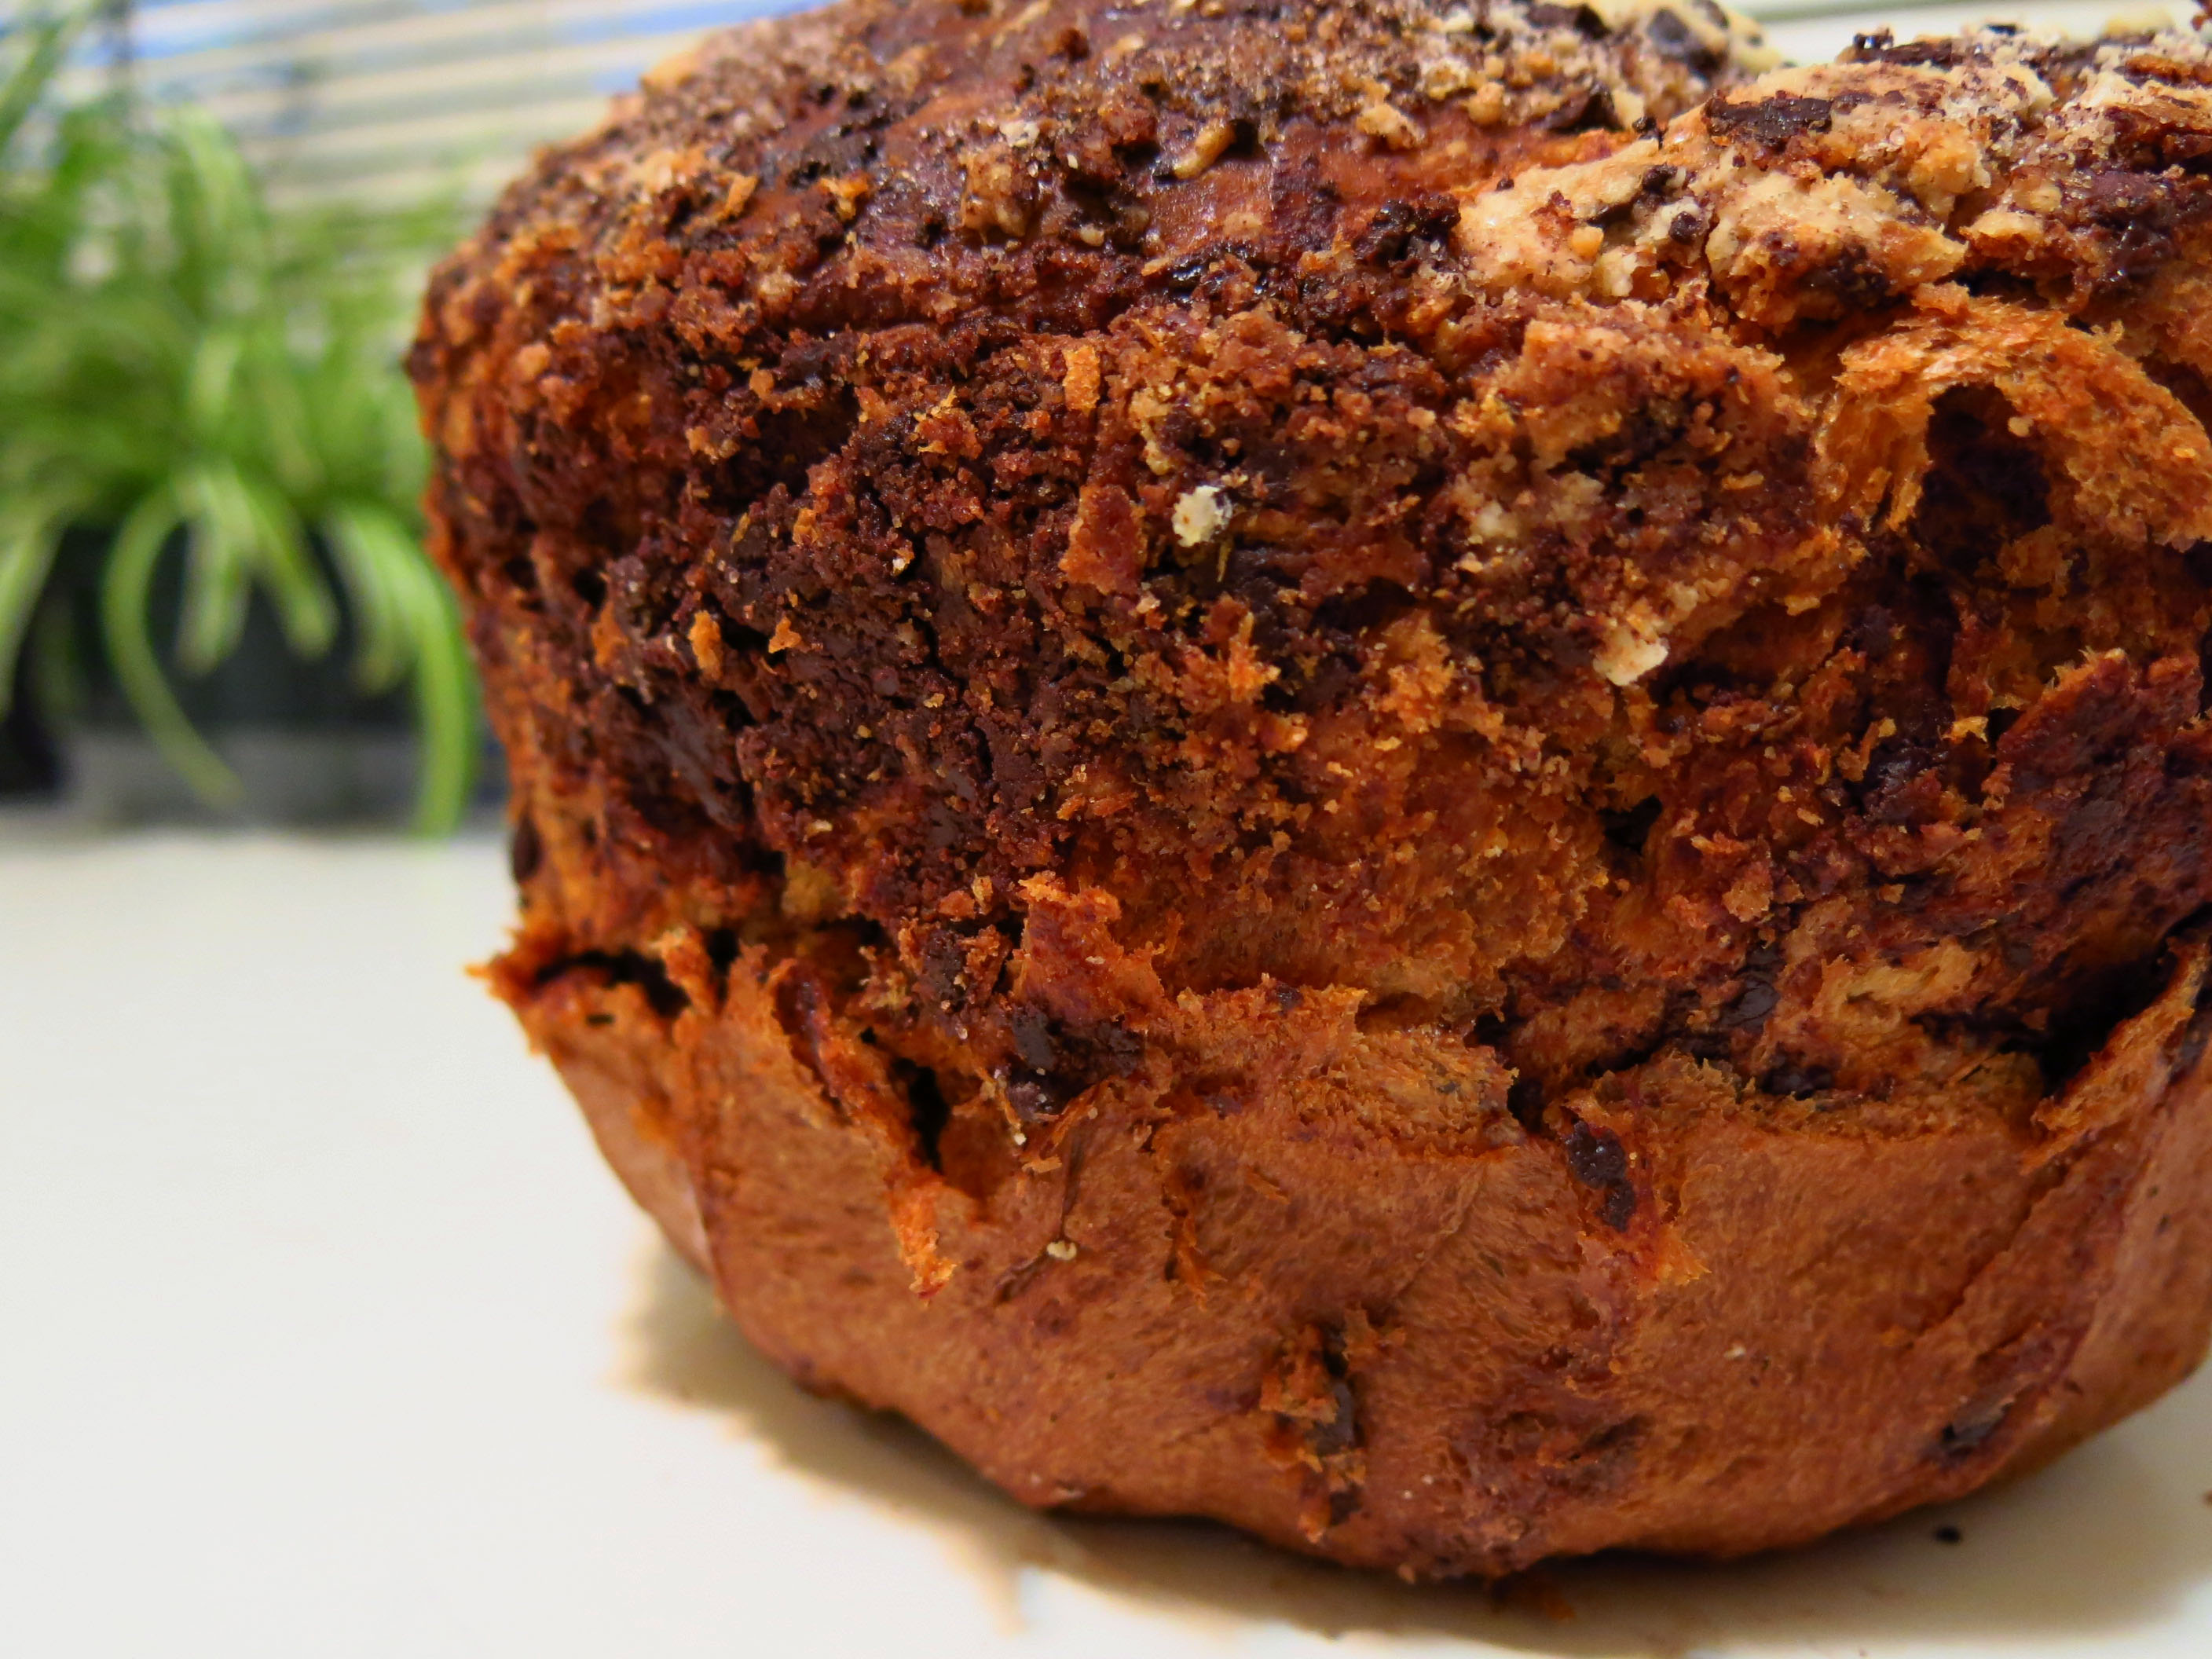
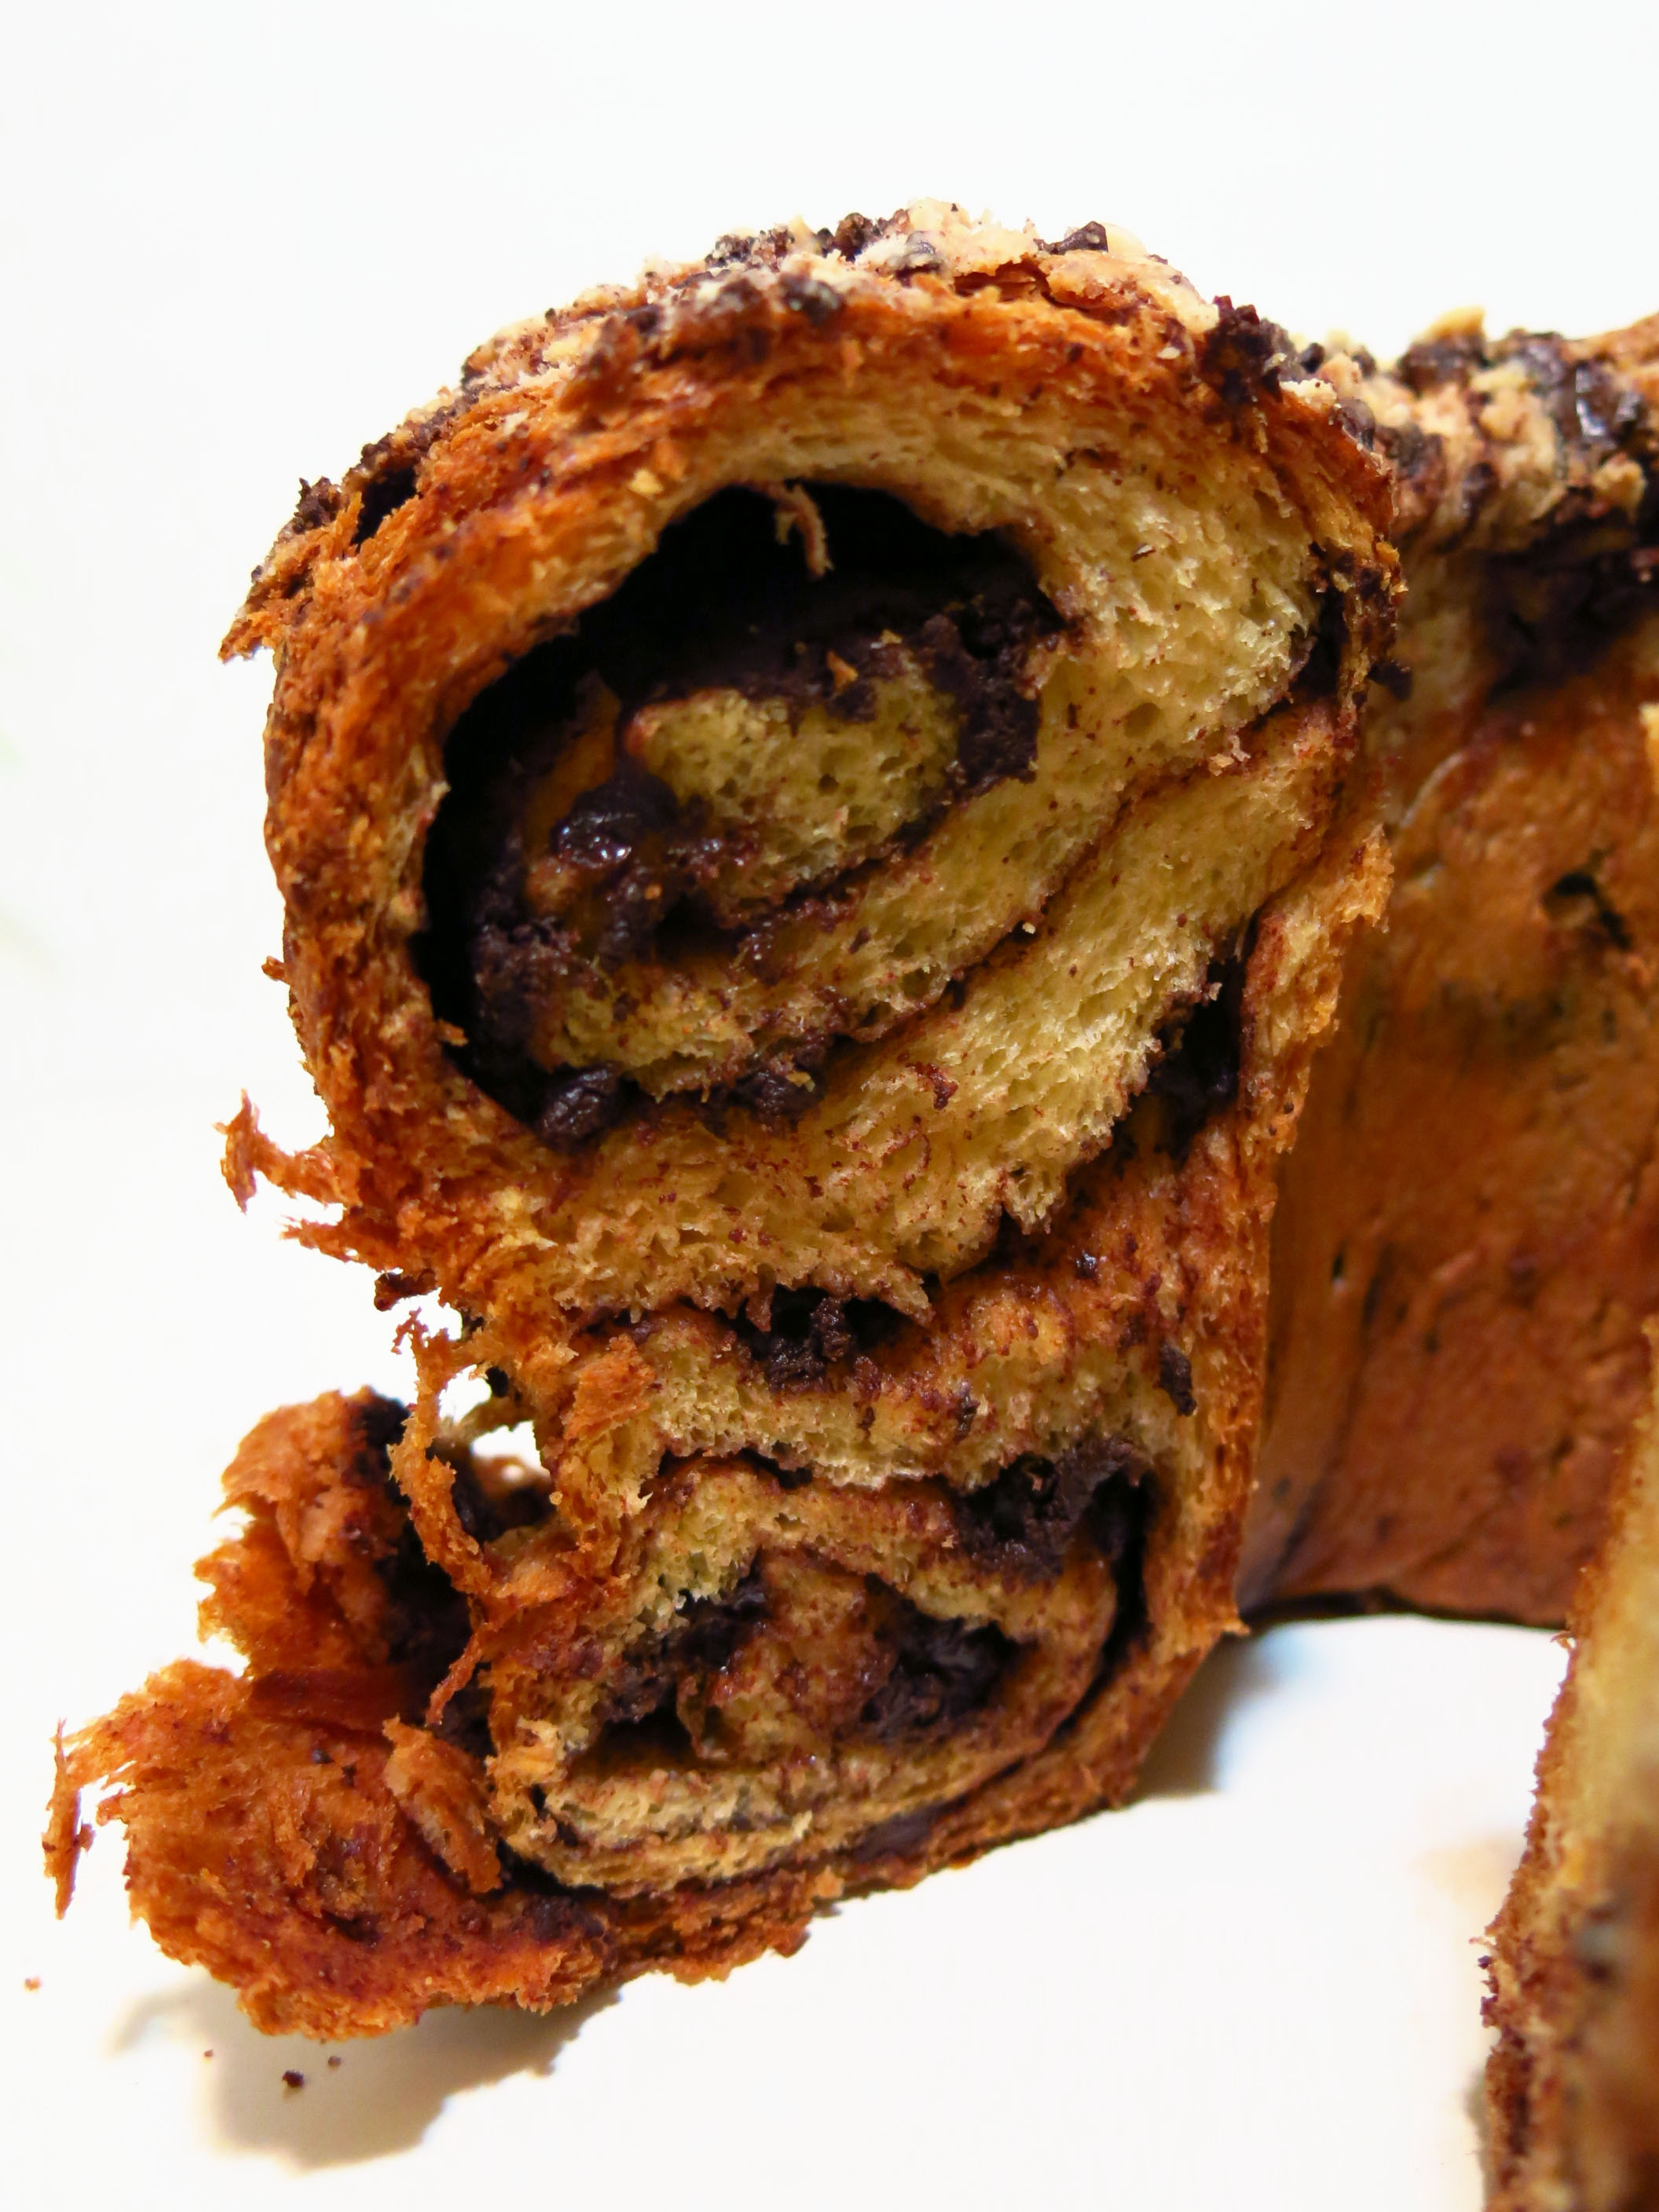 An inside shot of the bread – the roll could have been a bit tighter but overall pretty neat.
Overall: 9 out of 10!
Next up…Desserts!


Leave a comment