One of my small joys in life – Bon Appetit = BA. So every once in a while I’ll catch something “BA” (clearly meaning Bon Appetit) and think, “oh how cool! It’s my initials!” In the latest (December 2013) issue, I went gaga over their cover feature – exquisitely PAINTED cookies!! (

I die.
I don’t often get that overwhelming WAVE of inspiration but when I do, I’m unstoppable. Immediately I began researching local resources for the supplies and luckily there is a wonderful cookware and gourmet food store that stocked a great selection of colours. The quick and dirty explanation for the “paint”: lustre dust mixed with a neutral alcohol (I used Grey Goose, hehe but they suggest lemon extract which would be a beautiful flavour pairing).
Some of my initial work:

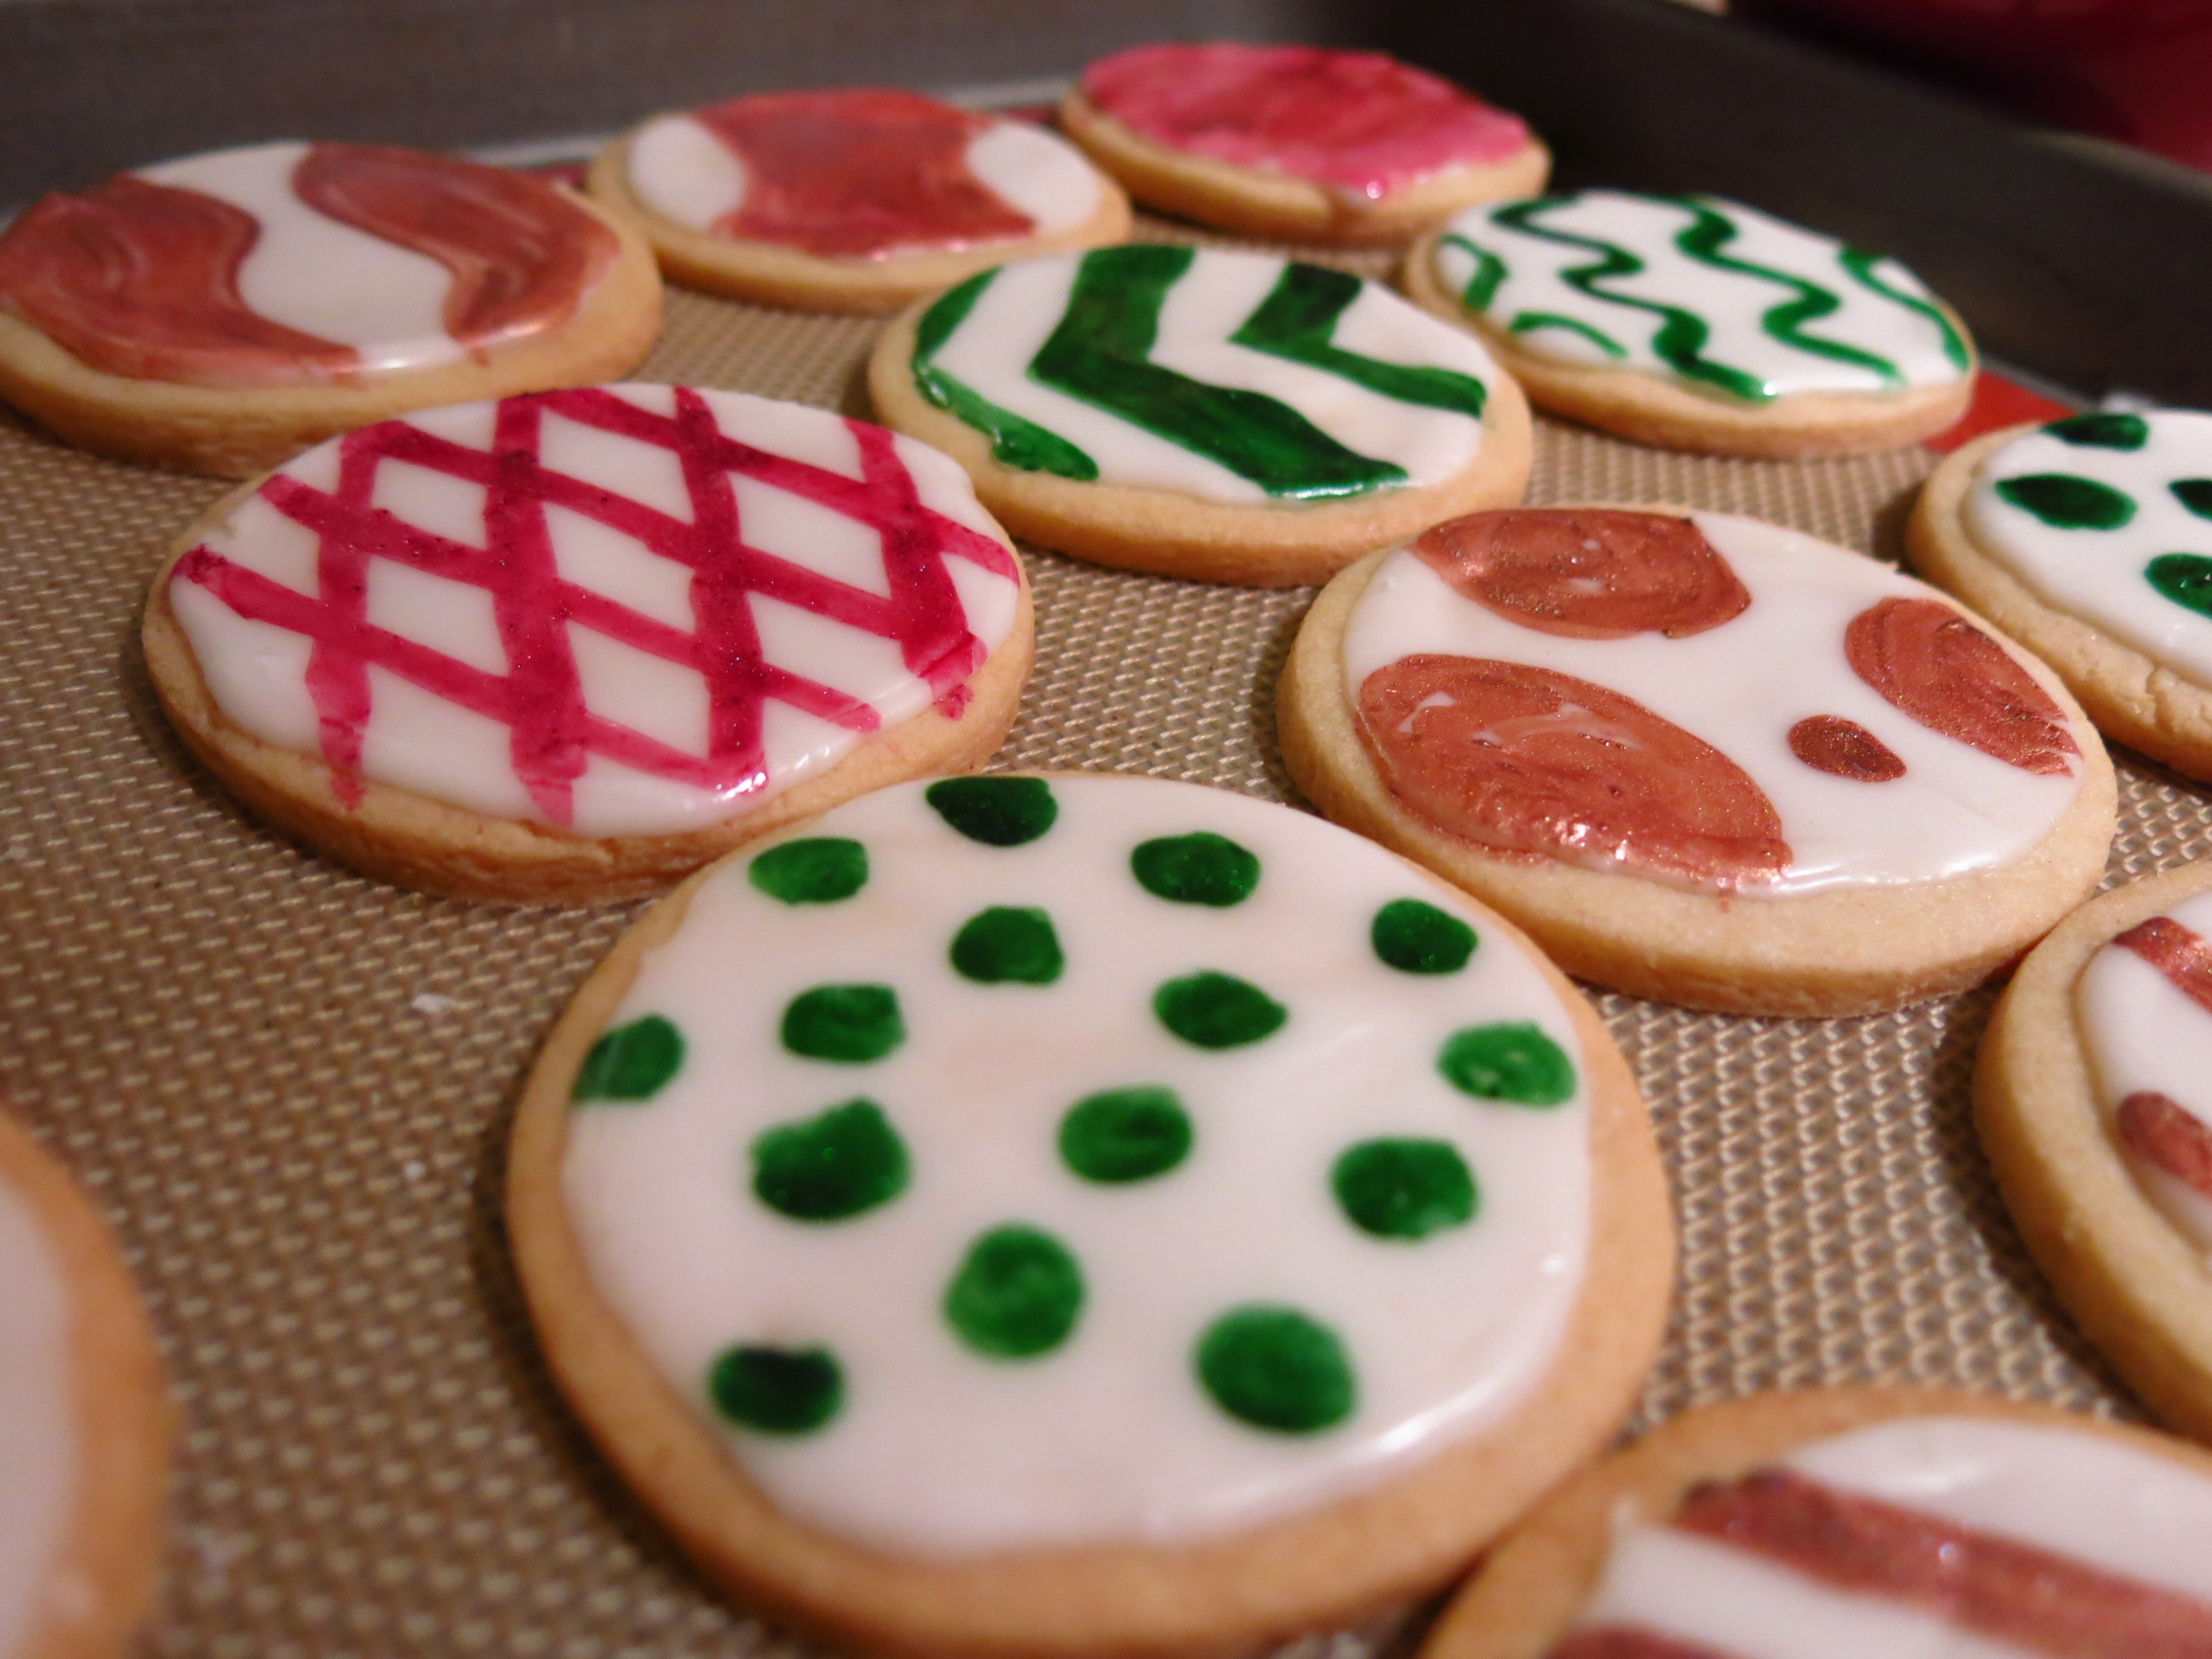
I did a few more the next day with more colours including blue, silver, yellow. I have to say that it was difficult to keep a steady hand! I think the next time I paint cookies I will download some simple patterns to be inspired by. There’s nothing more “hitting the wall” than sitting with a tray of cookies in your lap, paints ready to go, brush in hand and no clue what to do.
If you’re feeling inspired as well, go to your local dollar store and grab some small sauce containers. You only need a few drops of liquid to create the paint. The dust is SO fine, the transformation from solid to liquid is quick. I used a small squeeze bottle for the alcohol to control the liquid. Like I mentioned previously – use a neutral alcohol. I used Van Gogh as well and I have to say, I didn’t love the smell of coffee as I was painting. I think Amaretto may be nice, but as it’s already coloured – it might not work (although that could be interesting to see the color mixing interplay with the dust).
The cookies on the original cover were just gold paint. I think that’s a great place to start – one great color and paint it with a variety of widths and patterns. For brushes – definitely go with good quality fine and flat-edged brushes. The overly puffy or furry ones aren’t as clean.
When you’re flooding the cookies, allow a full 24hrs to set. I went with a regular flow icing – none of this “dries like concrete” icing for me! I still want these cookies to taste good!
I’m inviting some friends over in a couple weeks for some intense cookie decorating – including painting so I will share some of their handiwork.


I still rem the fun Halloween Rice Krispie pops u taught us to make at work a couple of years ago, and the vday heart cookies u baked for all the ladies one year; such delicious and creative treats! 🙂